
Today I asked my husband, Scott, to give us a little write up on how he’s learned to support our tomatoes. After 14+ summers of tomato gardening together, we’ve gotten it down to a fine science. Since tomato support is his task, I asked him to give us the low down on how to do it right.
Tomato Support
There are all sorts of support contraptions sold for tomato plants these days. Some have been around forever. Some are new ideas. Some work, some don’t. There are wooded stakes, spiral metal stakes, hoop cages, square collapsible cages, etc. I’ve tried many of these with only moderate success. Wooden stakes work well but it’s a lot of work getting them set in and then securing the vines to them with twine all season as the tomato grows. Cages are the convenient because it’s a one-time setup for the season. Most of the cages sold however are not big enough to hold a healthy tomato plant and many of the cheaper ones are too flimsy. The issues I would have is that the tomato plant would eventually grow over the cage out the top and down the sides making it hard to manage and stems would break. Or the weight of the plant would cause the whole thing to fall over. Also the hoop cages have narrower hoops at the bottom and some tomato plants don’t want to grow in a neat V-shape to fit that. I needed something strong, easy to get at, evenly spaced, tall enough, and easy to set up.
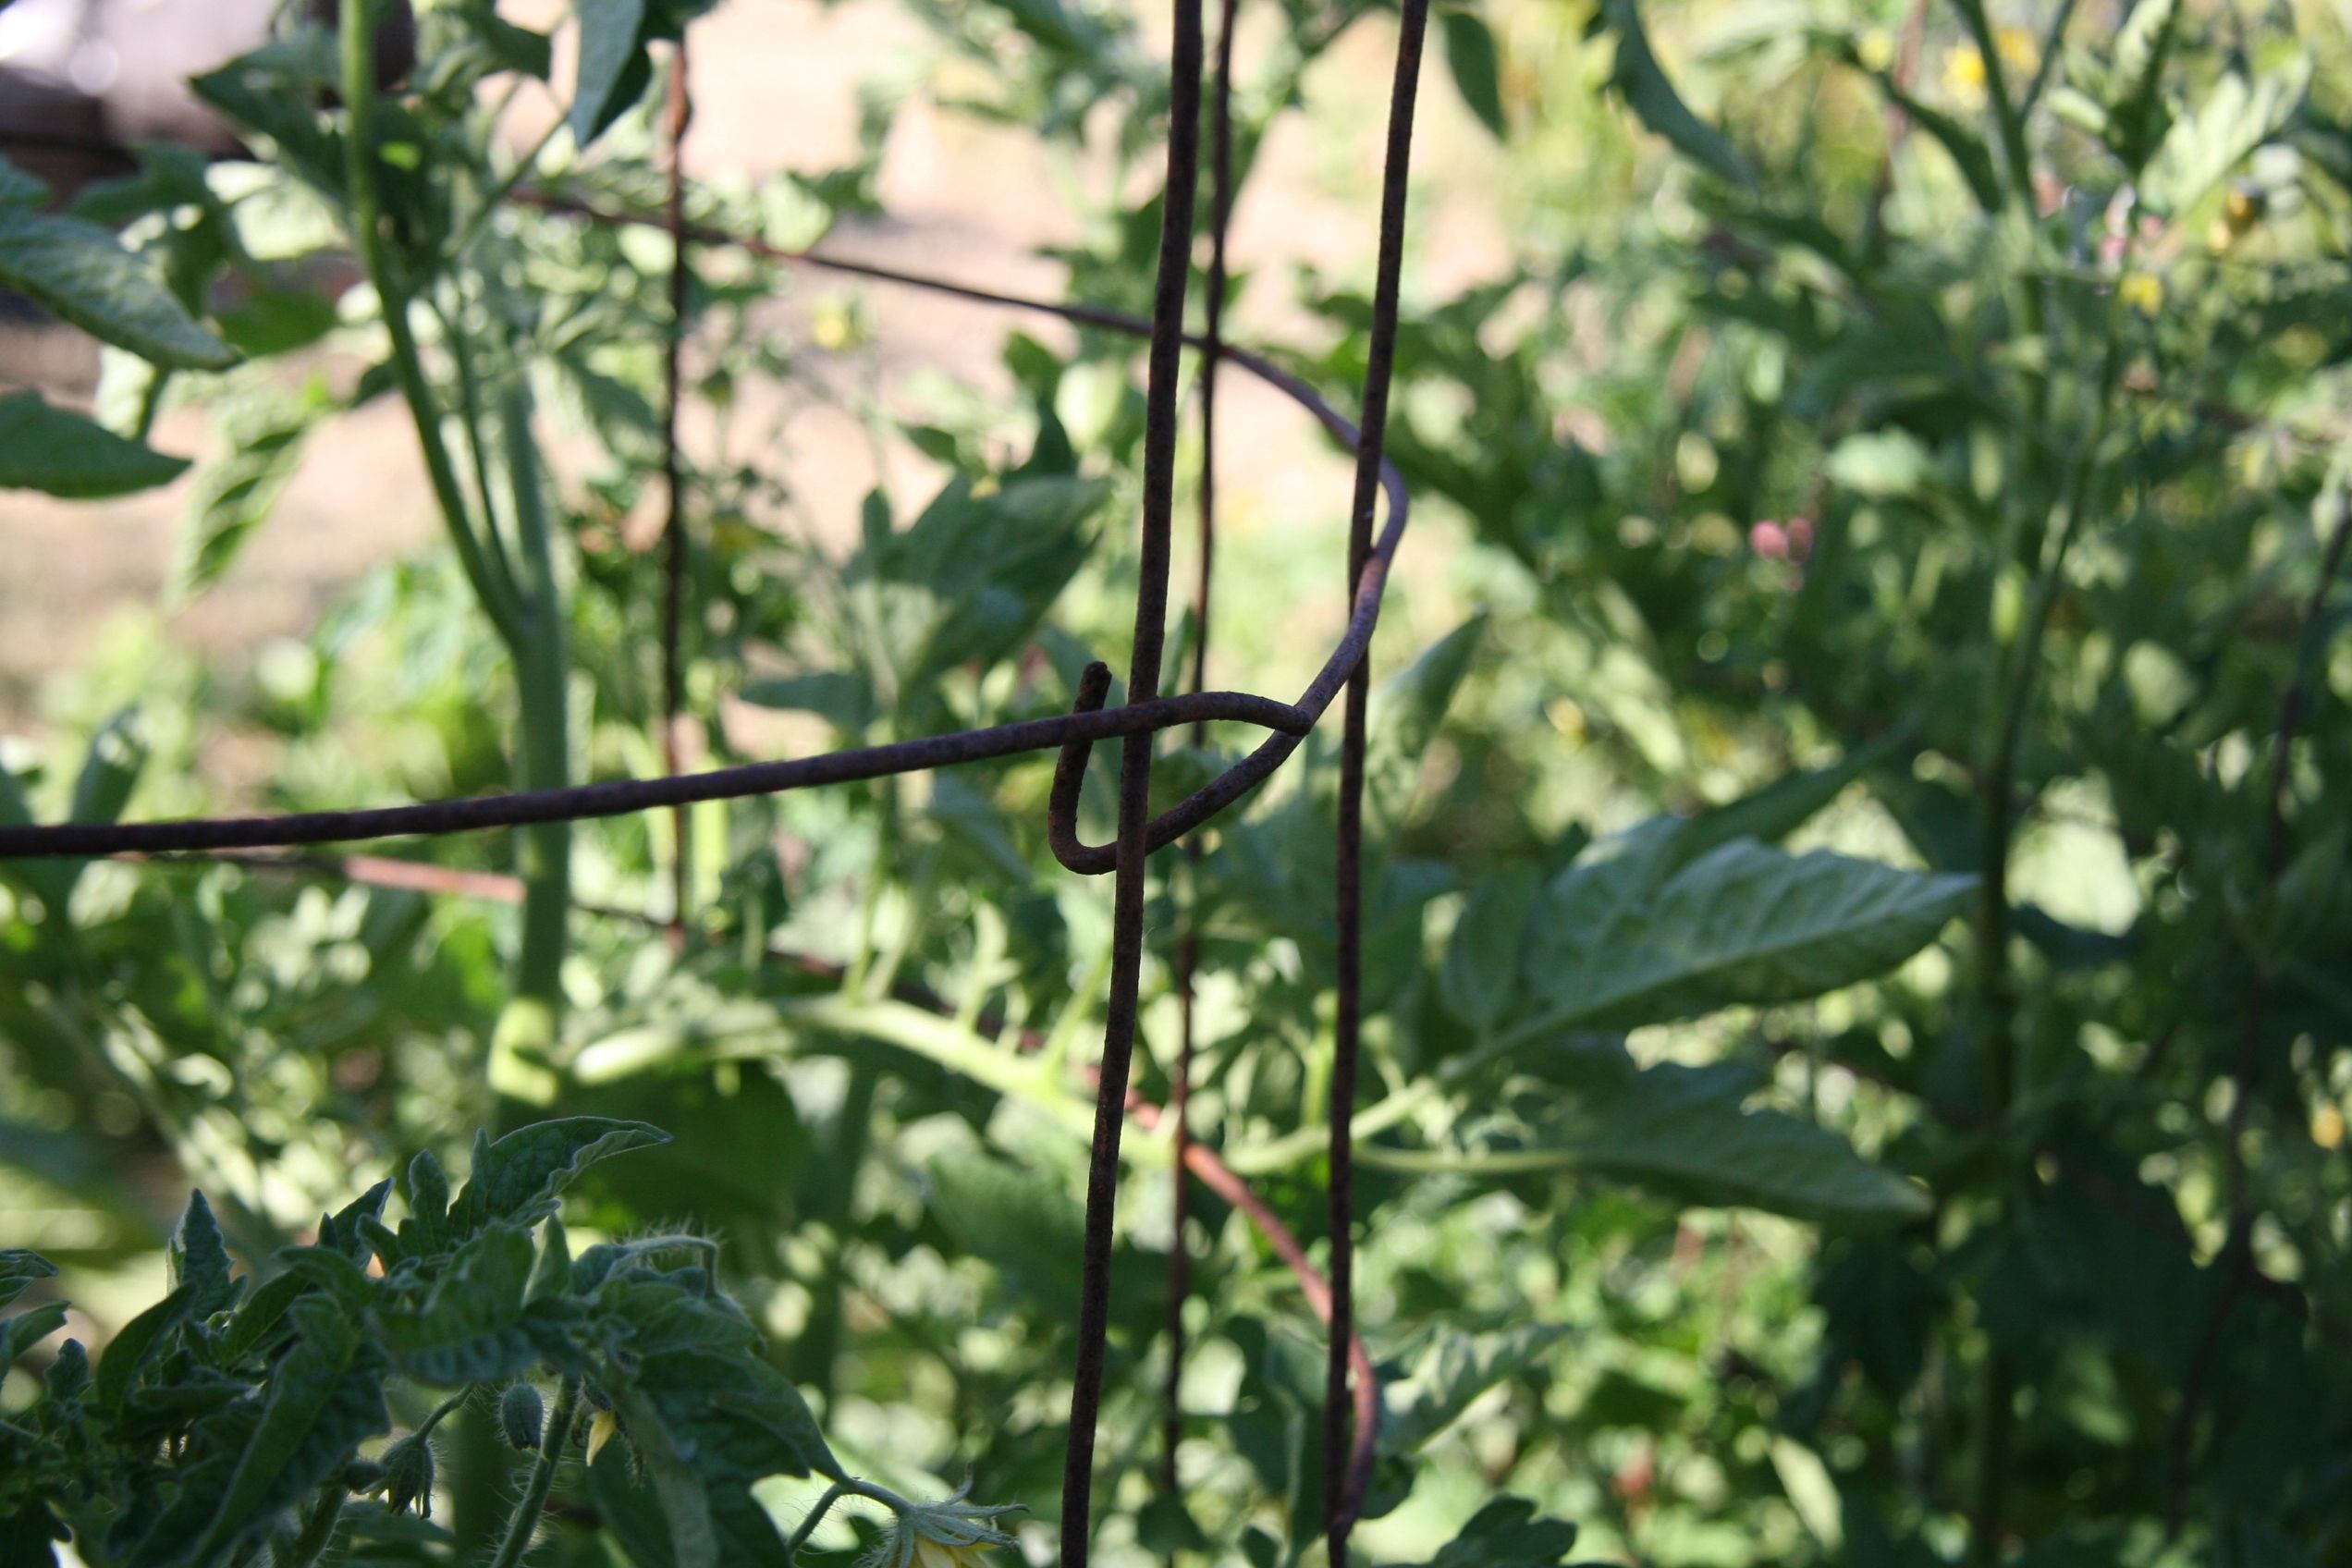
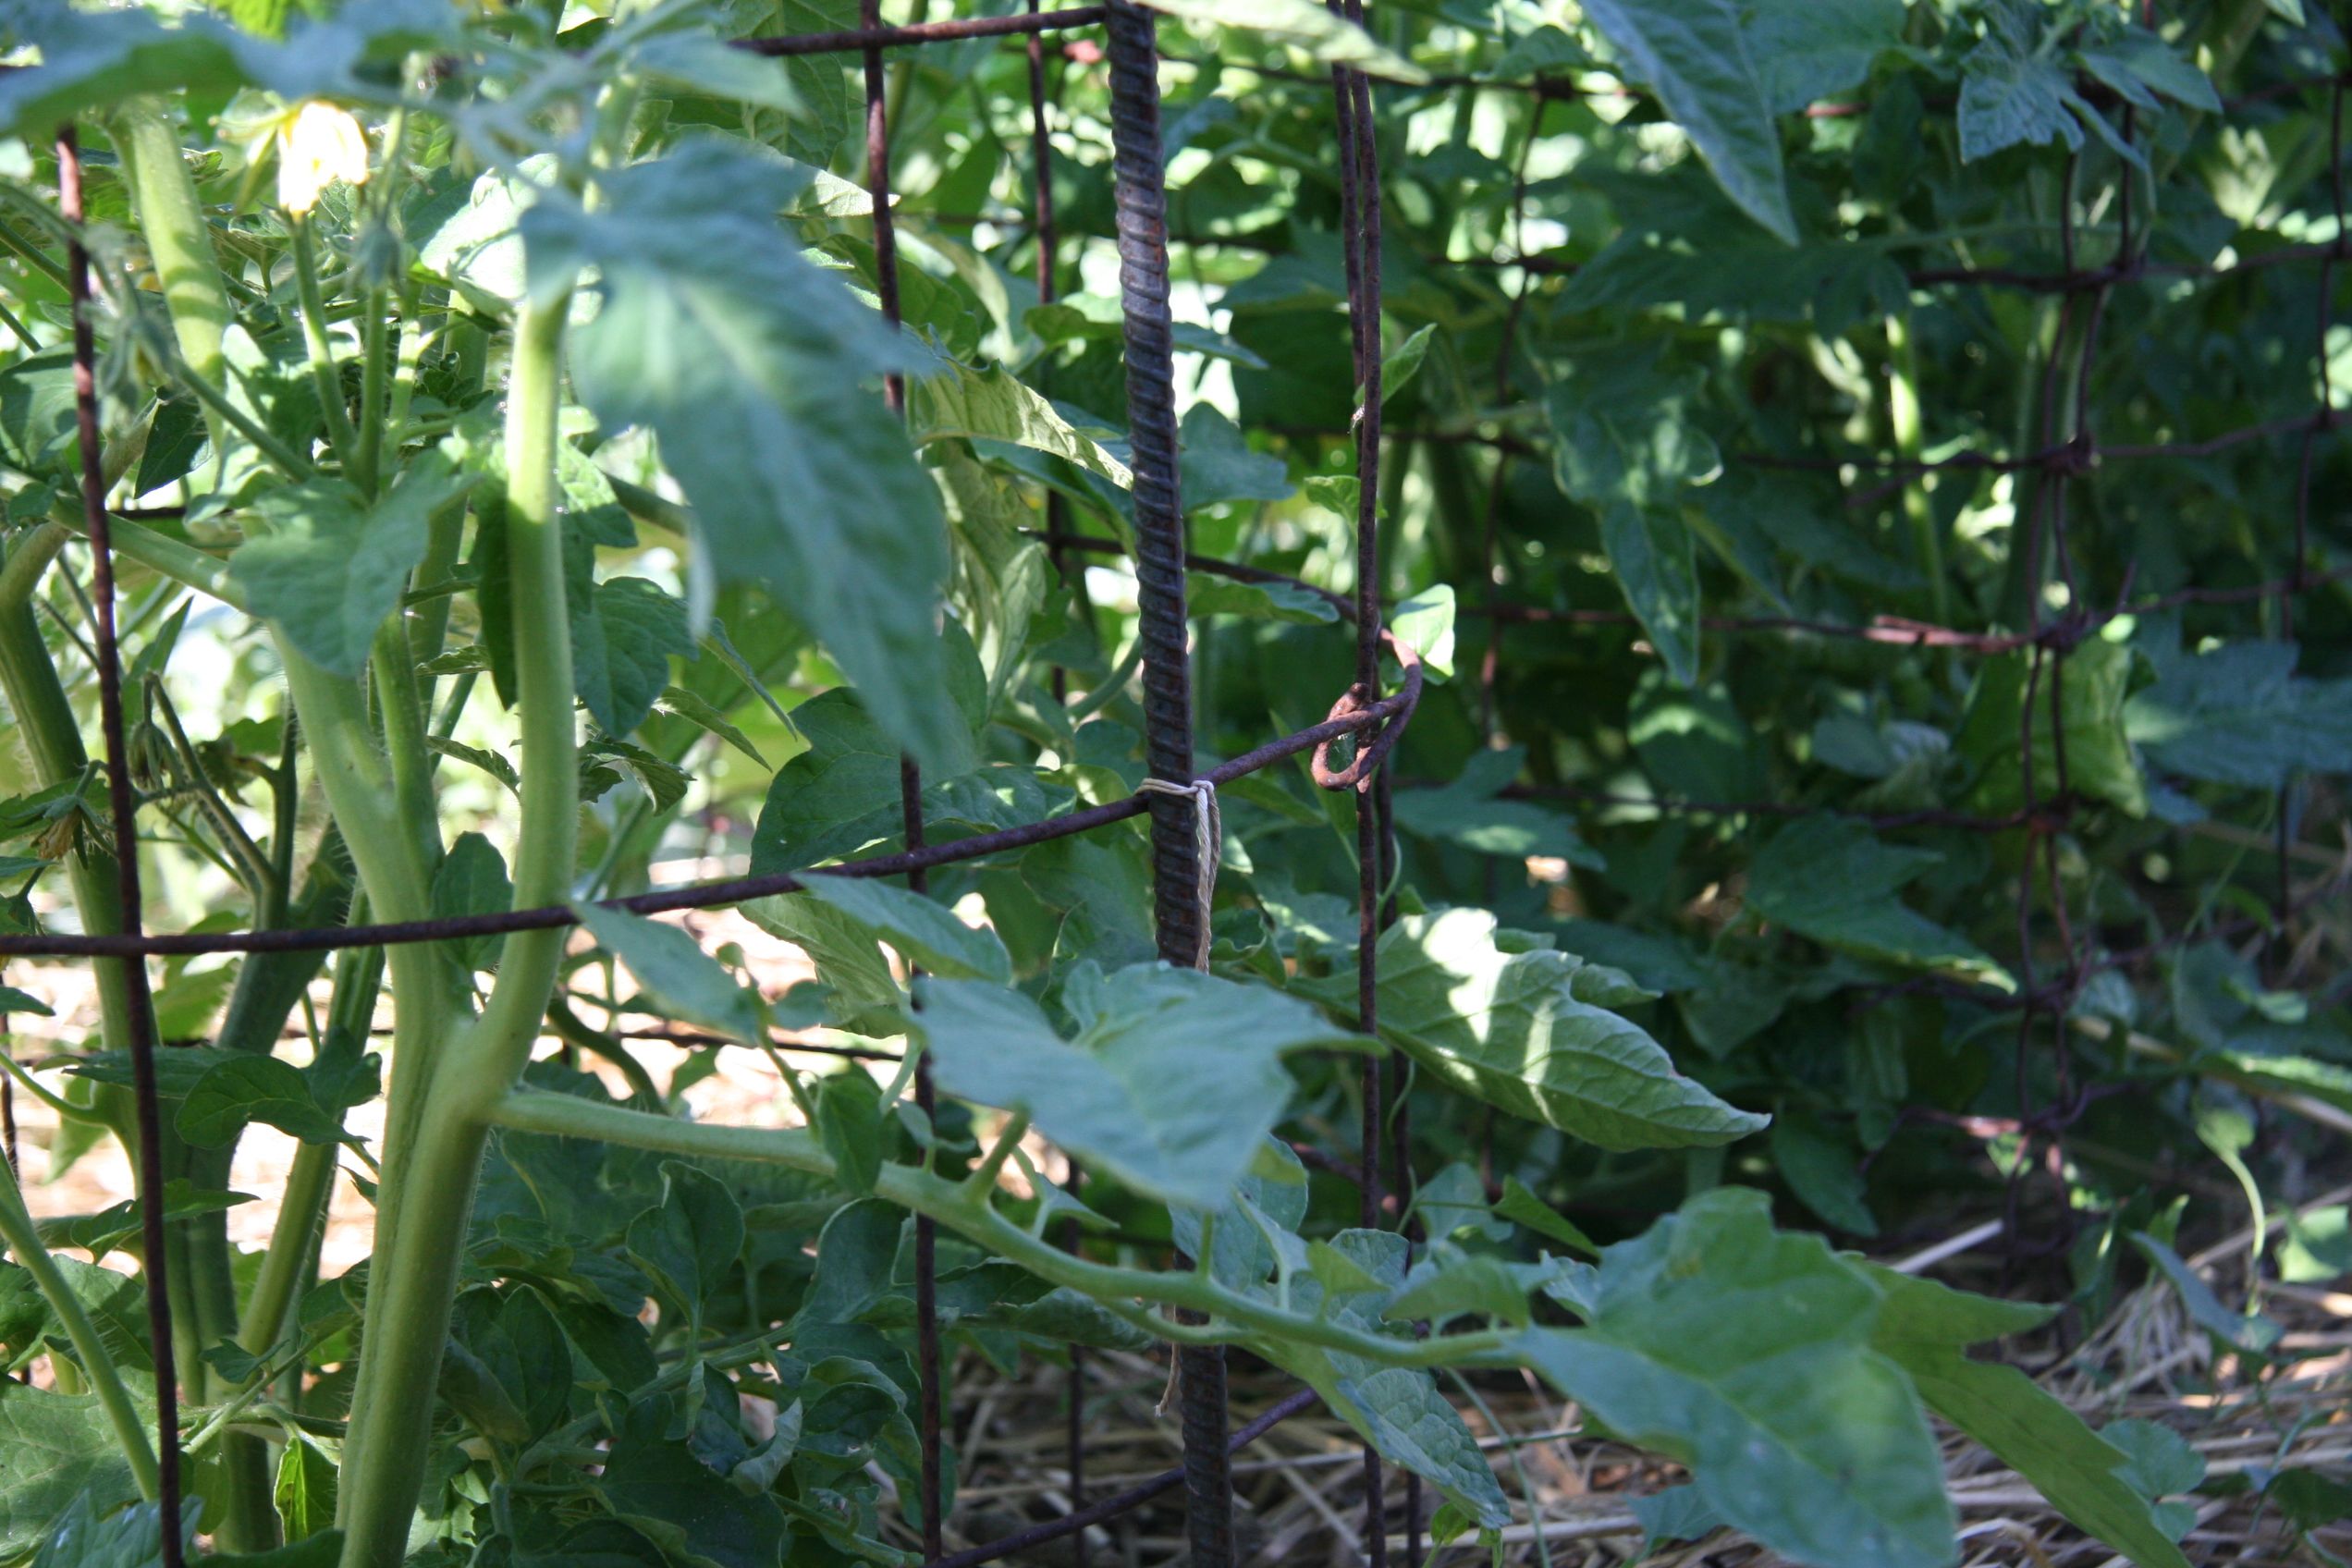
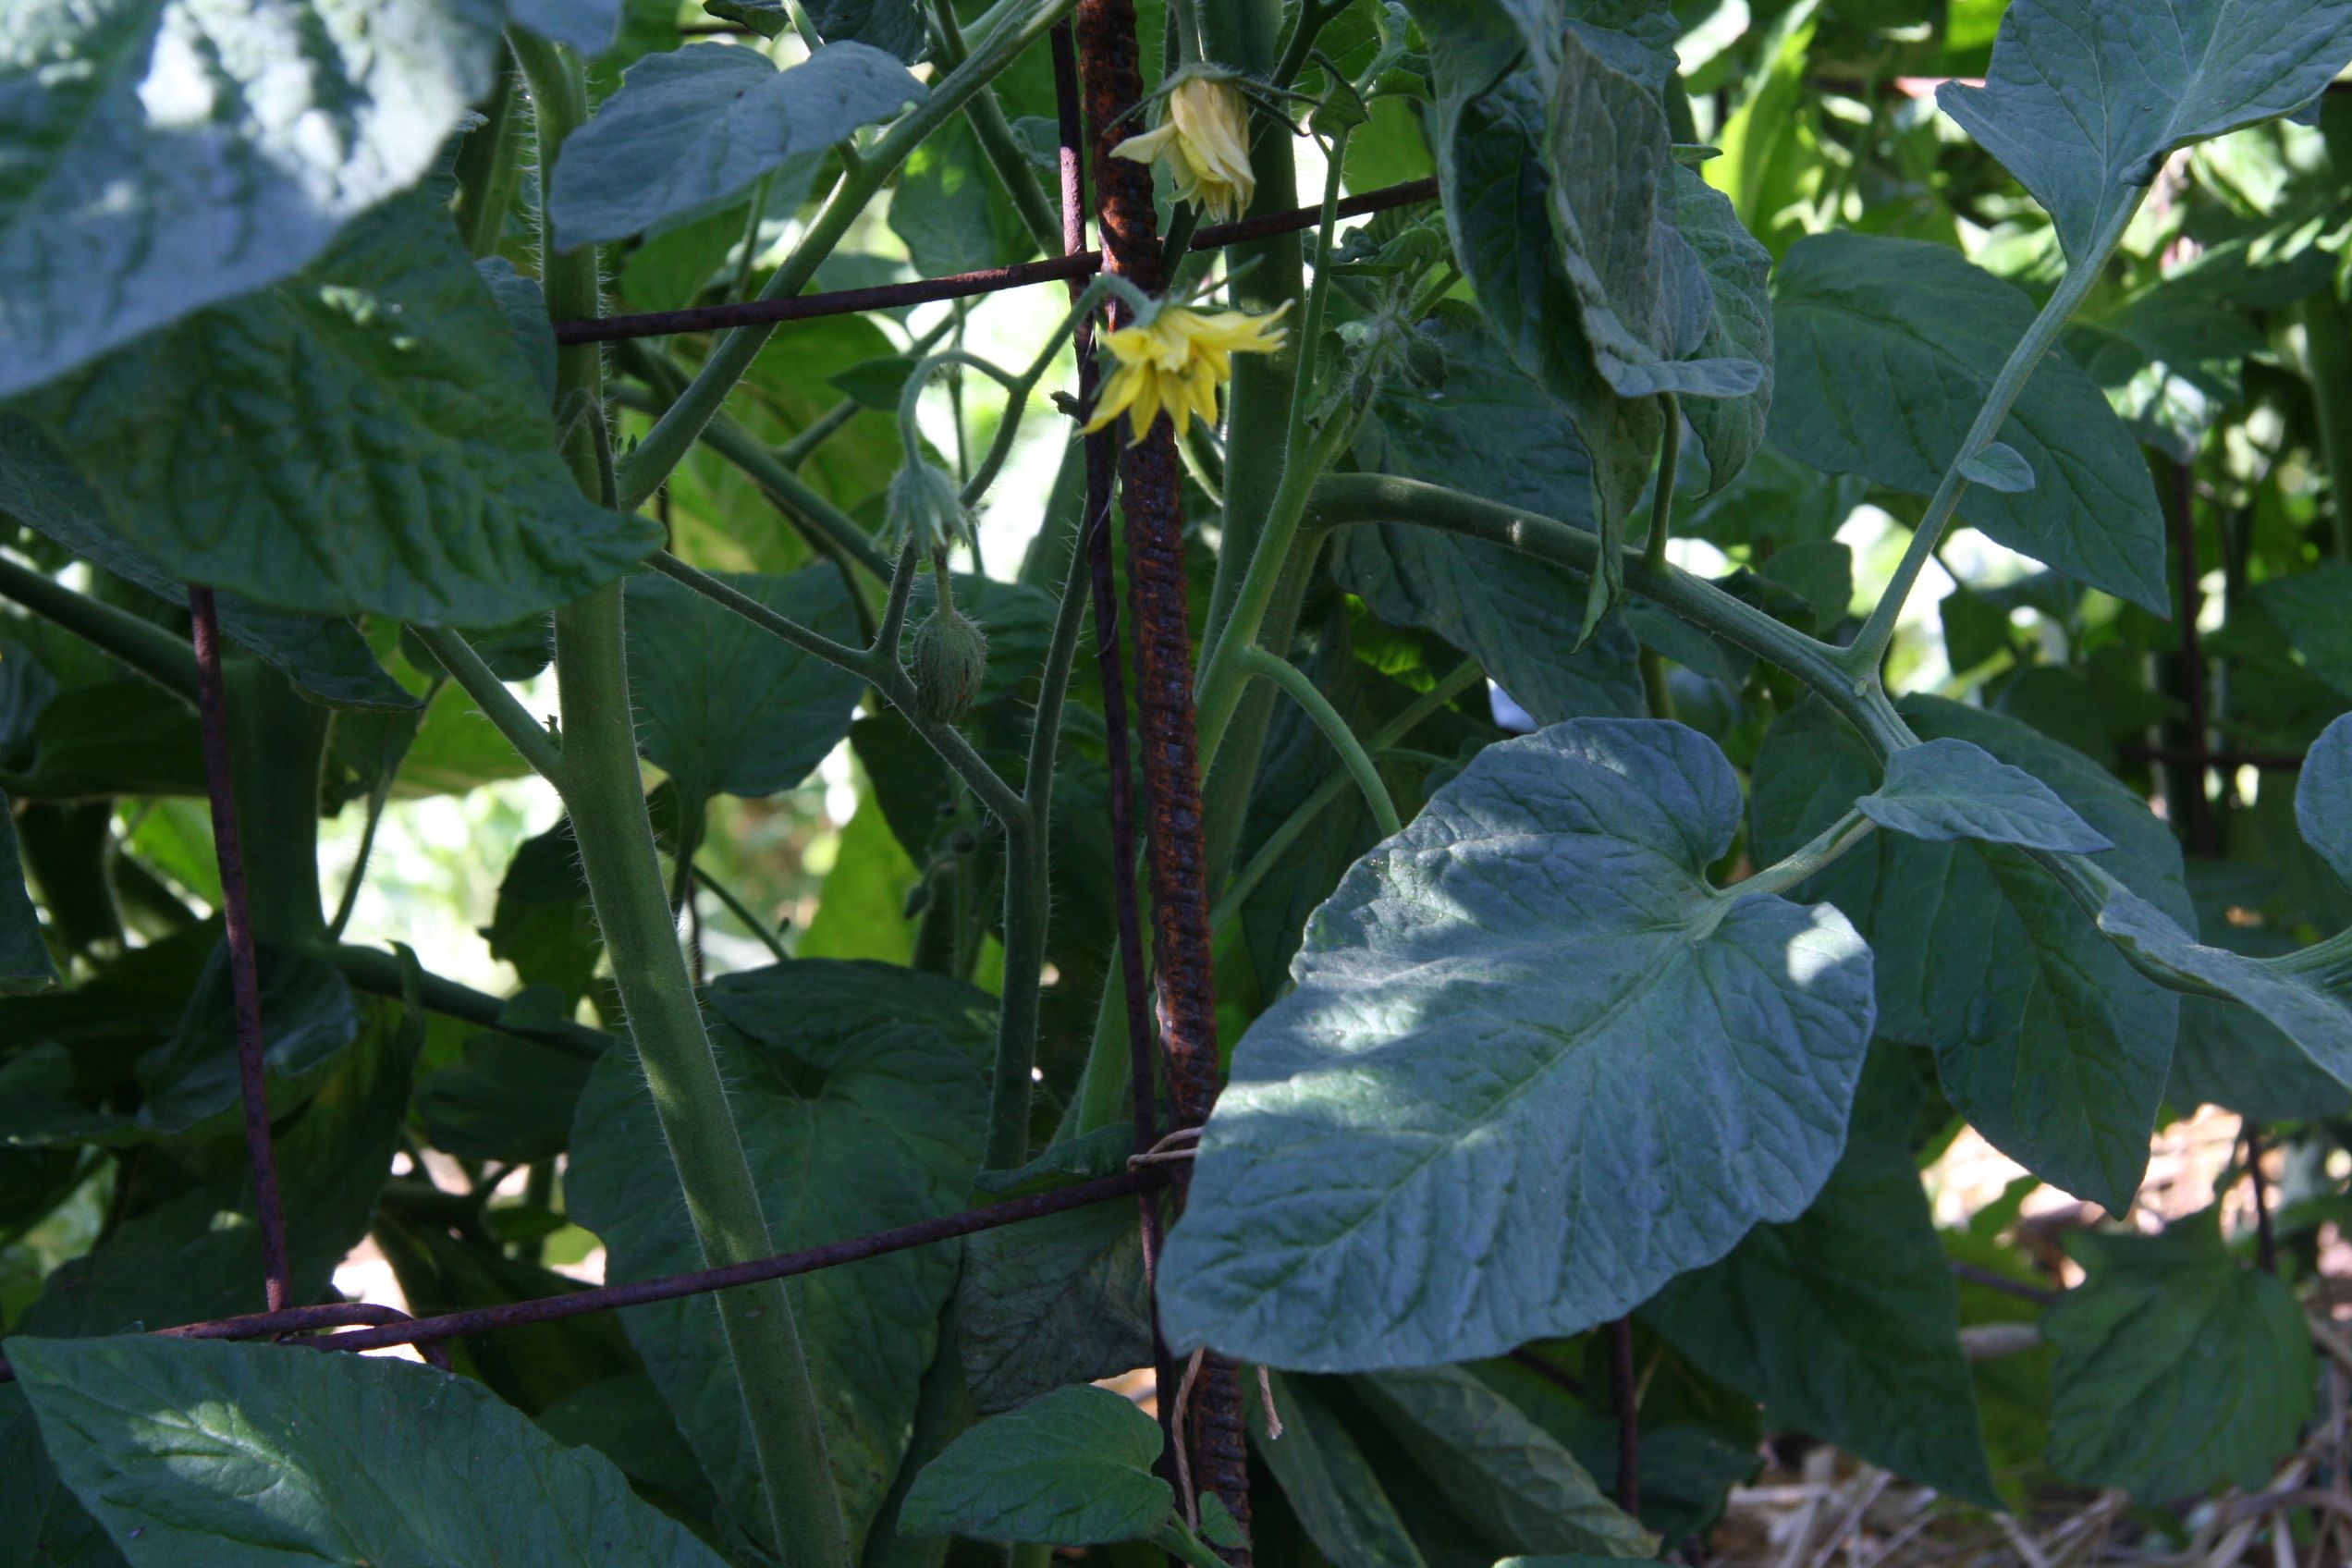
Many years ago, I noticed that my dad was using something that looked homemade. They were heavy duty circular wire cages. I asked him where he got them and a friend who was a very experienced gardener had given them to him. They turned out to be concrete wire. Concrete wire comes in a roll. It is used for, you guessed it, concrete. It’s put in concrete patios and such along with rebar to strengthen and help with cracking. It comes in various widths and lengths and has a 6 inch squares which gives you room to get your hands and pruners in yet gives plenty of support for the vines as they grow. Anyway seeing them in action was one of those moments where you think this is the way, why did no one tell me? I’m telling you now, this is what you want. You will not be disappointed. They work the best hands down at containing and supporting a large healthy tomato plant. The only downside to these, and it is definitely worth considering if you are tight on space, is where to put them when they are not in use. They are rigid and big. They don’t collapse in any way so they take up a lot of room. If you have a spot in or behind a shed or something they are completely worth it.
Building the Cages
Rather than going through the details of building the cage here, I found a good post here on the process. I will share some tips that I’m not sure if are included in that post. One is that you want the cages not to be too wide or narrow in diameter. Too narrow and the tomato will be constrained and sending a lot of shoots out the sides. Too wide and the plant can fall over inside. I agree with the Tomatoville post that the best diameter is between 20 and 22 inches. If you follow those instructions it should come out right. Concrete wire comes in various widths of 4, 5, 6, or 7 feet. I used the 5 foot width. My tomatoes often get big enough to spill over the top. If you want to go bigger, you can but just be aware that that the downside is manageability. Also a 50 or 100 ft roll of 7 ft concrete wire is HEAVY. One time I ziptied 2 of the 5ft ones together for a 9.5 ft cage to see if I could grow the tomato that tall. It just made it . Impressive but needing a ladder to pick tomatoes is kind of a pain and storing a large cage like that is a real hassle.
Setting the Cages in Place
Once you have your cages built and your tomato starts in the ground, it time to start thinking about putting them in. I wait until the plants are about 18 inches tall. Make sure and space the plants with enough room between them to accommodate the cages plus more if you use the drain pipes for deep watering. You need to install those drain pies first. For spacing the plants you need 2.5 to 3 feet between each plant. What I do is put mulch down first around the plant. Then I put the cage over it with the plant centered and the cage as level as possible. The next thing I learned the hard way. SECURE the cage. If you leave it at this point, everything will be fine until the plant gets big. Then one day a wind will come by and blow it over. If you are super unlucky like me one year it will domino and take them all down. So secure the cage to the ground. The best and easiest way to do this is to buy some rebar from the hardware store. You need it to be about 4 ft lengths. So if you can find that great otherwise buy 8 ft lengths and cut them with a hacksaw. I hammer one for each cage in the ground right next to the outside of the cage. It should go in a good 18 inches to be really secure. Then just secure the cage to it with twine or a zip tie. You should never need to mess with the cage again for the rest of the year.
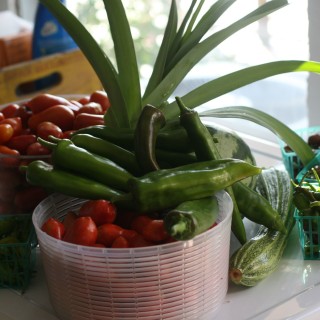
I hope this helps. It sure has made a difference for me. You can support and easily manage bigger plants much more successfully giving you more tomatoes per plant.
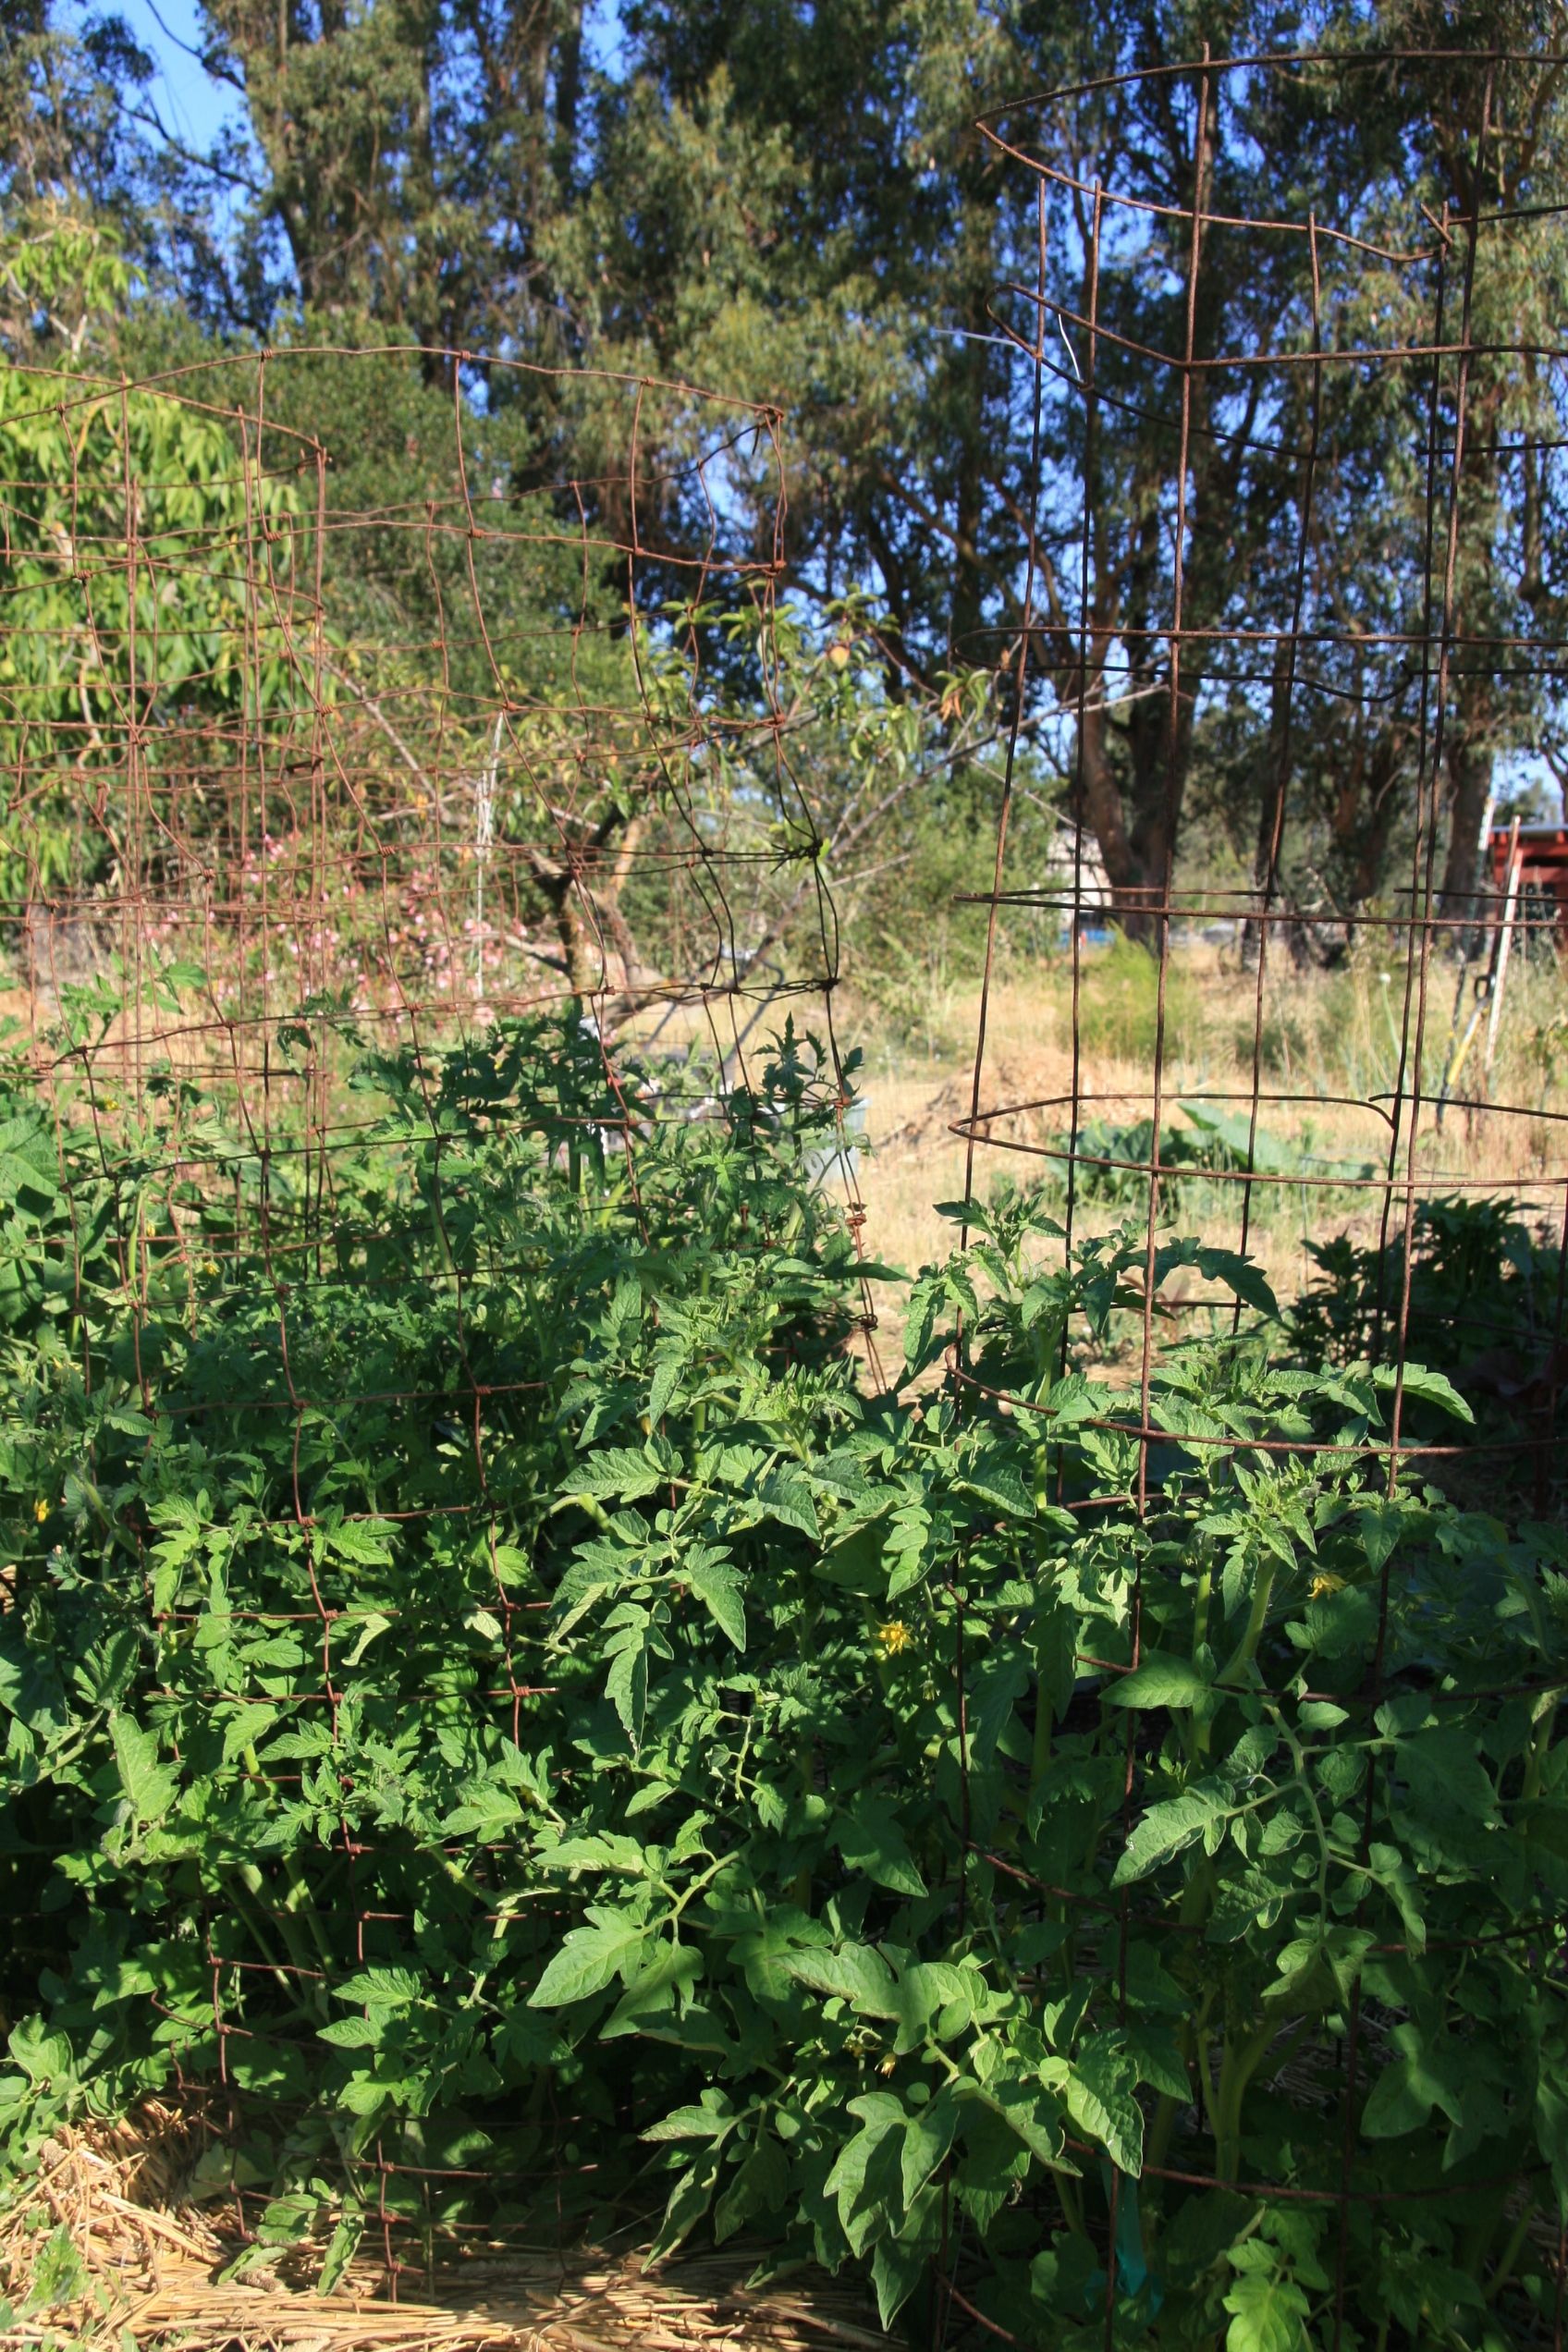
As you can see from the photos here we have a few tomato cages built with left over deer fencing. You can see from that one (the one on the left) that it’s nowhere near as strong a support as the concrete wire. The mesh is also a lot closer together at the bottom, so in order to get at the tomatoes we’ve had to cut away some wire so we can reach in (below): 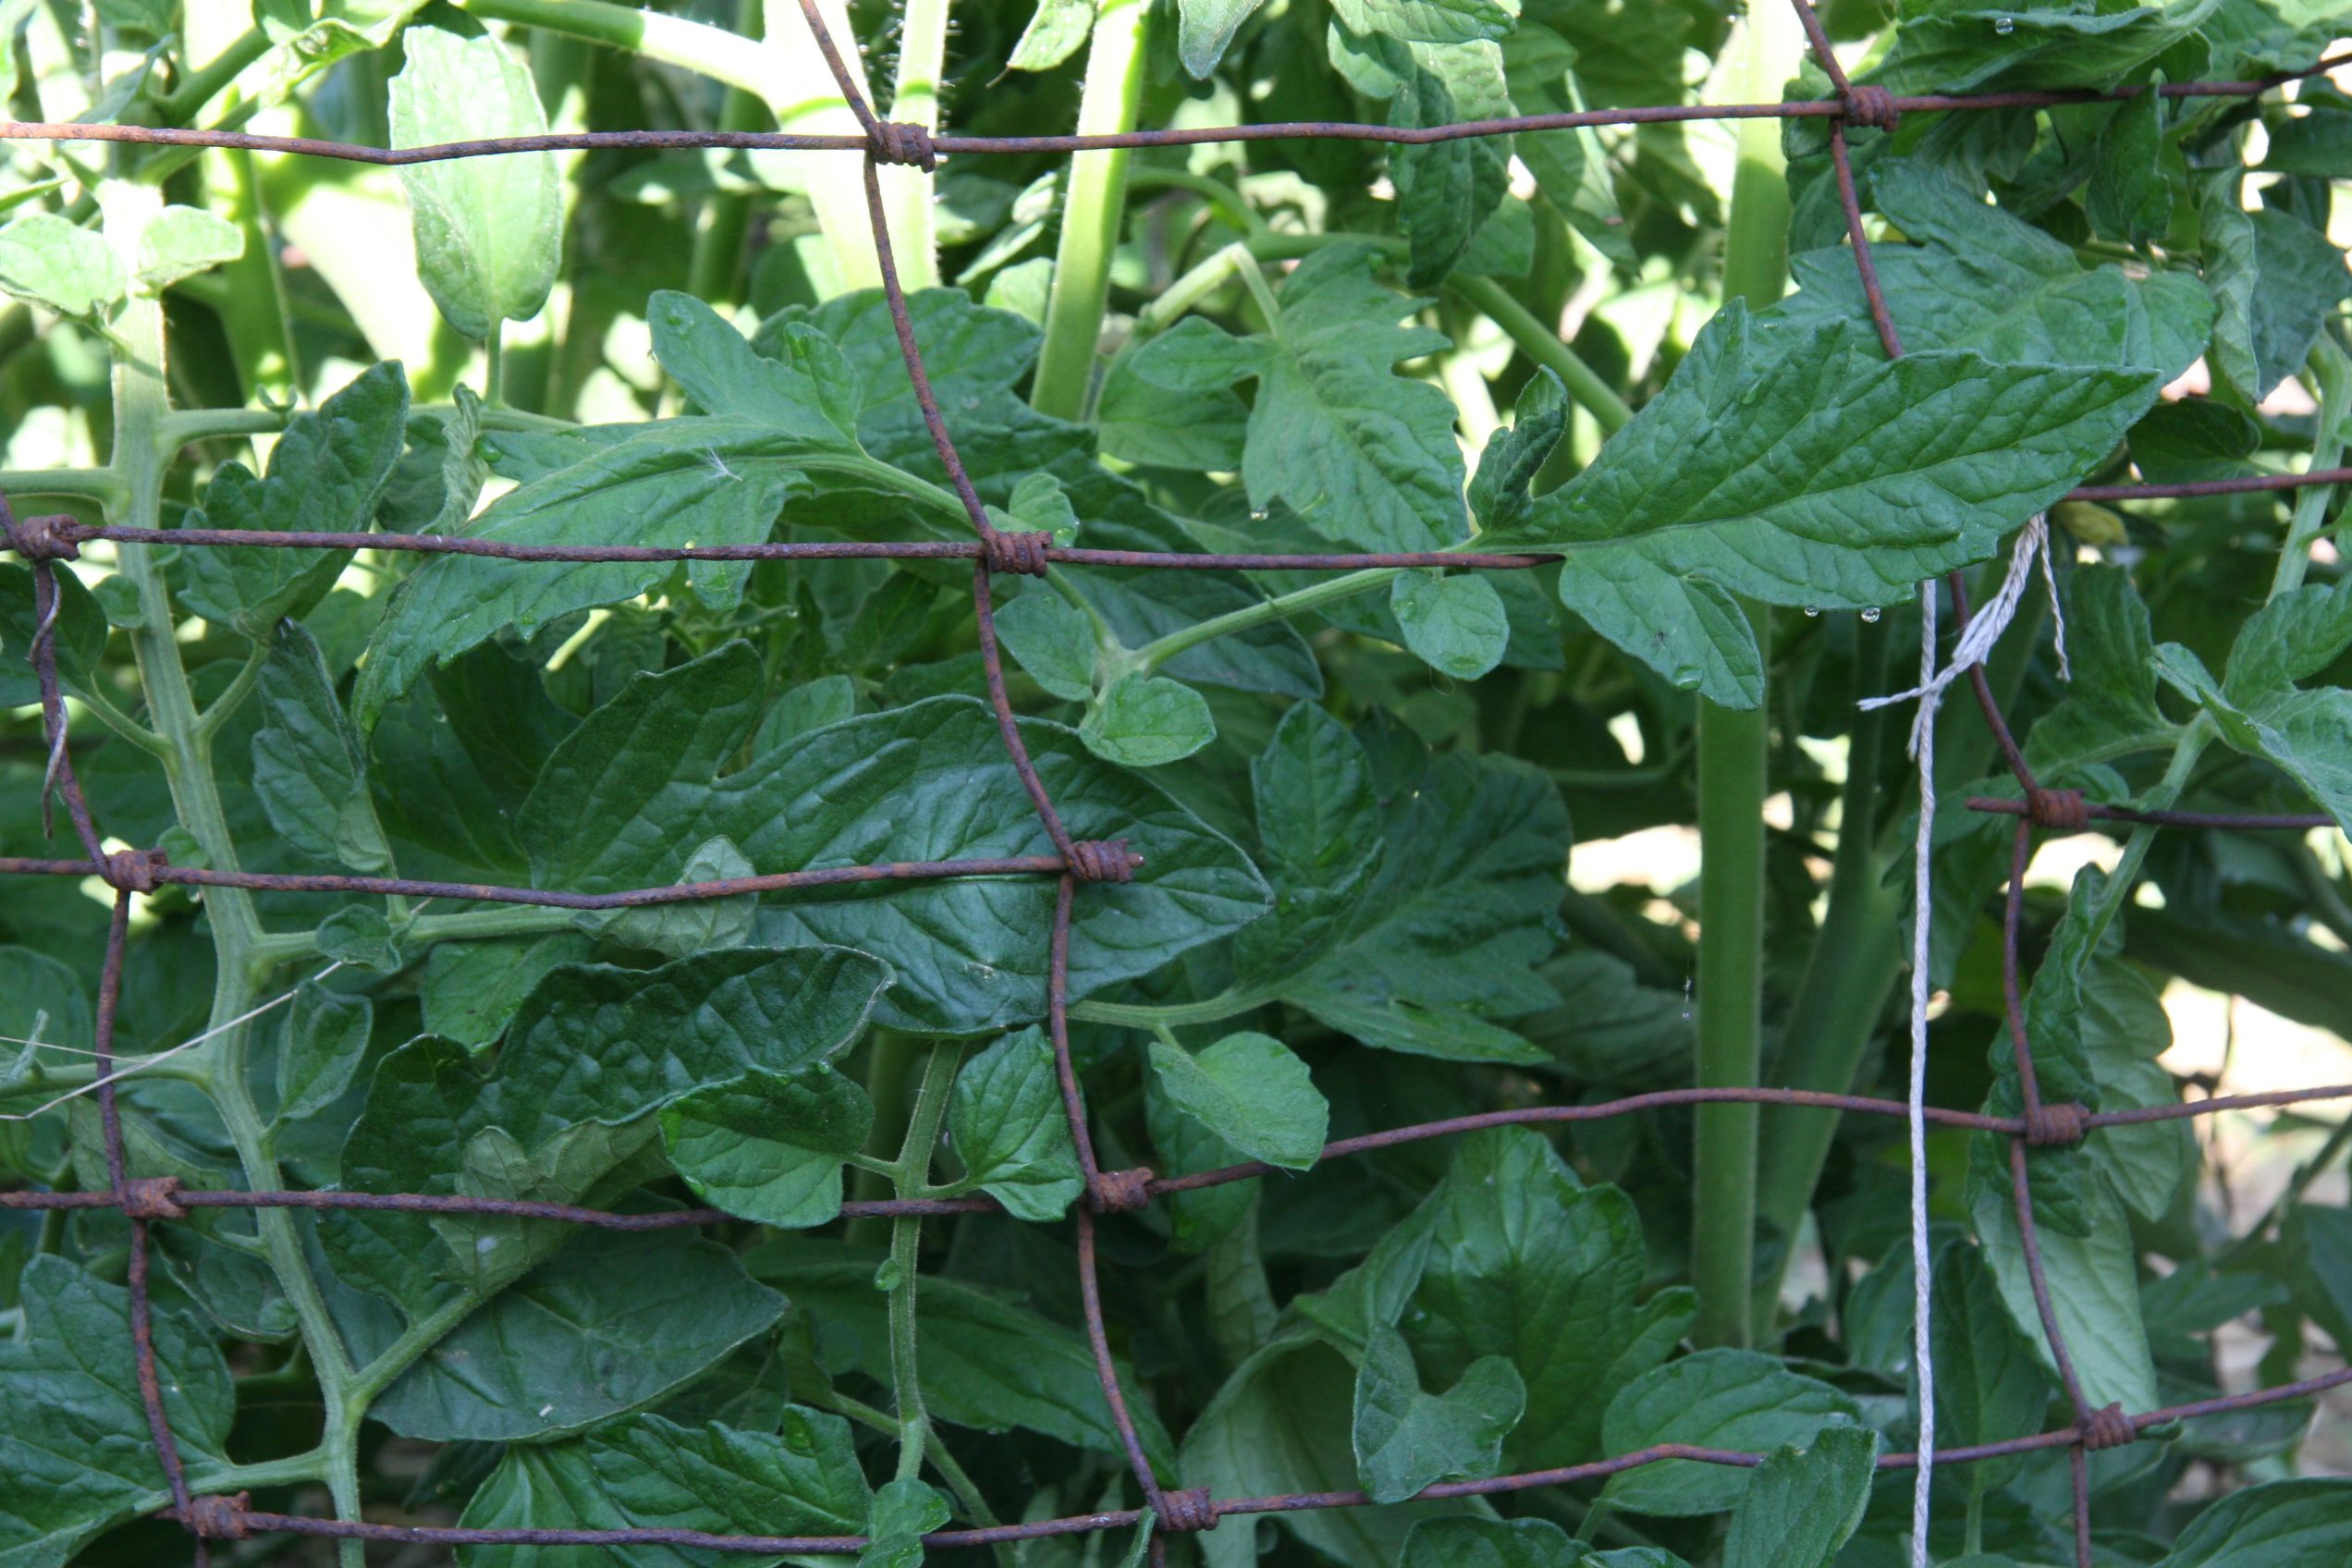
Share with us, how do you support your tomatoes?


Remesh is good, but Texas Tomato Cages are by far the best. Even sturdier and collapse to eliminate the storage issue.
Very cool! I have used the trellis idea from Square Foot Gardening, but I think it requires to much handling of my tomato plants; my Cherokee Purples don’t seem to appreciate so much hands on. My determinants, romas specifically, I have the concrete wire cages that my dad made however many years ago. So, I am thinking that I’ll switch my indeterminants to the wire cages as well. Thanks for sharing!
John, with a 100 ft x 5 ft roll of remesh I made 23 heavy duty cages for 90$… Yes you have the storage issue, but that is the only advantage in my mind. There is absolutely no way that the texas cages support the tomatoes as well as the remesh cages. Not to mention you will pay 650$ for the same amount of cages. If you are just doing 5-6 plants maybe it’s worth it, but I have 20 plants.
This is a fantastic way to support tomatoes, but I am one of those gardeners who is tight on storage space. Last year, I tried a method that I read about on The Girl and the Fig’s newsletter, called the Florida Weave. It worked beautifully for me–largest tomato crop ever with no trace of blight or mildew–and when the season was over, there was nothing left to store but some posts, which are easy for me to tuck away in an obscure corner of the garden.
I have been using concrete wire for years. The first time I grew tomatoes here in Cloverdale I used those flimsy tomato cages they sell at the stores. All my plants fell over! My neighbor showed me what he used. The next summer he gave me a couple to try. The next year after that I bought a hundred foot roll and my husband helped me cut the wire (the wire is very thick!) and make the cages. I have had the same ones for 10 years now. I love them.