
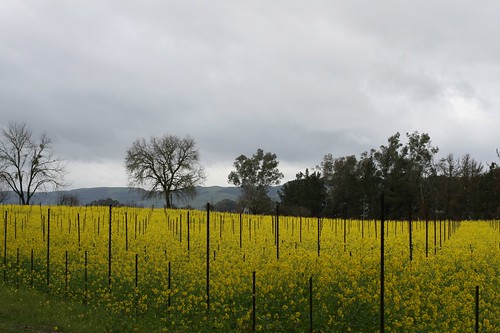
It’s mustard time in wine country which means that spring is almost here. Which means it’s seed starting time, isn’t it? I’ve noticed that many of you have already started. Our house is just a tiny bit larger than a postage stamp and without an extra square inch to spare, we usually wait to start our seeds a little later by planting them in flats outside. Since we are a few weeks out from starting our summer seed plantings, I thought I’d root around for a nice set of resources to get us inspired for when the time comes. I found some great homemade alternatives to seed starting pots, a good recipe for seed starting soil and and easy as pie tutorial for setting up an indoor lighting system for sprouting seedlings as well as many other goodies.
When & What to Plant
First things first, you need to have a game plan of what seeds to plant and when right? Right. Like I mentioned yesterday, knowing when your last frost date is helps a lot in garden planning. Here’s a nice site to help find your approximate last frost date. When you’ve got that figured out, head over to Skippy’s Vegetable Garden (via Compostings-thanks!) and plug in your numbers into her excellent online planting calculator and it will give you actual dates of what seeds to start. Very helpful, isn’t it?
What to Grow Seeds In
Now that you’ve got your game plan, here are some cool free homemade containers to grow your seeds in. You can buy those huge flats of little seed containers and while it’s very nice to have them all on one tray, we always find new curse words to utter when trying to get the actual little seedling out to plant without having to cut the whole thing apart. And I hate having to waste a perfectly good seed tray. We tend to reuse store bought seedling pots (the 2″ guys) or use little yogurt containers with holes punched into the bottoms. But you can also use cardboard toilet paper rolls and check out this fantastic newspaper seedling pot tutorial.
What Soil to Use
Sterile seed starting soil is expensive, but using regular garden soil isn’t always the best seed growing medium either. To help those fragile little seedlings out you need a lighter and airy soil than what’s typically in your garden. You also need it to retain a lot of moisture because you don’t want your seedlings to dry out. Try this homemade seed starting potting mix that contains only three ingredients.
How to Get them Growing
If you have the luxury of a few feet of space inside to devote to seed growing, I envy you. Marc from Simple, Green, Frugal Co-op explains all about his easy seed growing lighting set up.
When You Can ‘Plant Out’
I admit that when it comes to gardening, we’re not so good at following exact dates or numbers or record keeping or planning or the like. So when we plant our seedlings into the ground we do it with a bit of intuition, a prayer of hope that we don’t have some freak late frost, and of course a rare day of free time to accomplish the task. But if you are a numbers person, this is fantastic chart to show when you can begin to plant your seedlings outside (you’ll need your last frost date from above before you click over).
Do you have any seed starting tips that you’d like to share? Any cool seed starting related websites you’ve stumbled across?


")


Perfect! Many many thanks.
Thanks for this how to! This is only my second year of vegetable gardening, and my first year of starting seeds inside. You can see my little set up here: http://mybrownthumb.blogspot.com/2009/03/8-weeks-till-last-frost-planning-and.html
After learning the hard way that the sunlight from the window won’t cut it, I just hung one spot grow light over my dining room table. I think this amount of light will be bright enough — I’ve already noticed the difference. I’m using the little peat pots, which are very cheap, and can be cut easily and planted directly in the ground.
One tip for any other beginners out there, is to use something that you can water the seeds gently with. With my first batch of seeds, I poured the water right in with a measuring cup (I didn’t have a watering can handy). This washed the top layer of starter mix all around, creating a dent in the middle, and many of those seeds are now way off to the side of the pot. Now I use the squirt bottle (like a mustard/ketchup bottle) that you can see in my photo. It lets me squirt out enough water, faster than a spray bottle, but gently enough to not disturb baby seedlings.
Great post! I’m not planning a big seed start this year since I just don’t have a warm enough spot that isn’t in our main living area where the rascally toddler can get at it. But, I believe I’ll get some broccoli going at a friend’s house in a nice warm spot. A grow light definitely (I use aquarium bulbs) and a small fan to stimulate the strength of the stems.