This last flower season was my best one yet. Previously I had always been into perennials, flowers that bloom year after year and while I still love them, you just can’t beat how gorgeous annuals can be. Reading Floret Flower’s blog for years now has been a huge inspiration to me. Perennials were the perfect thing for me to focus on while my three babies were tiny and very high maintenance. Now that they are older and not needing such a high level of supervision, I can finally turn my attention towards annuals.
Being careful not to bite off more than I could chew I focused on four flower varieties last spring to grow, but in order to do that I had to start in late summer. I’m starting this cycle again and thought I’d share with you what I did last year, so if you wanted to follow along with me this year, you can. I can also tell you what I did that was a complete failure, so you can know ahead of time what not to do.
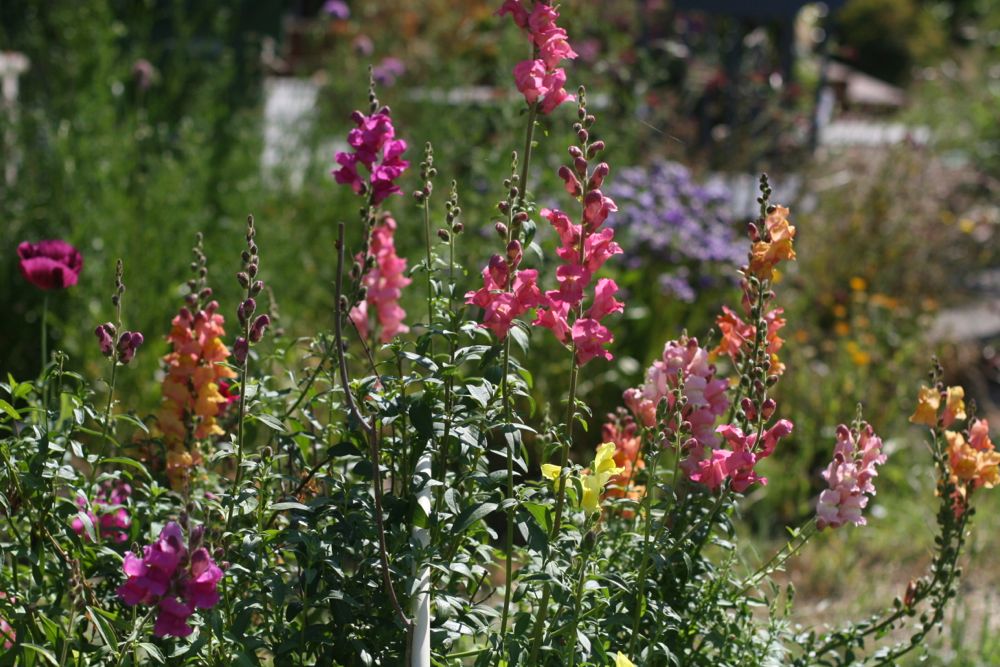 (Botanical Interests Snapdragon Tall Maximum Blend)
Please note that I am in zone 9 (you can find your zone here), so our winters don’t get too cold and these flowers can easily overwinter and survive the frosts and very occasional freezes we do get, as long as I keep them covered.
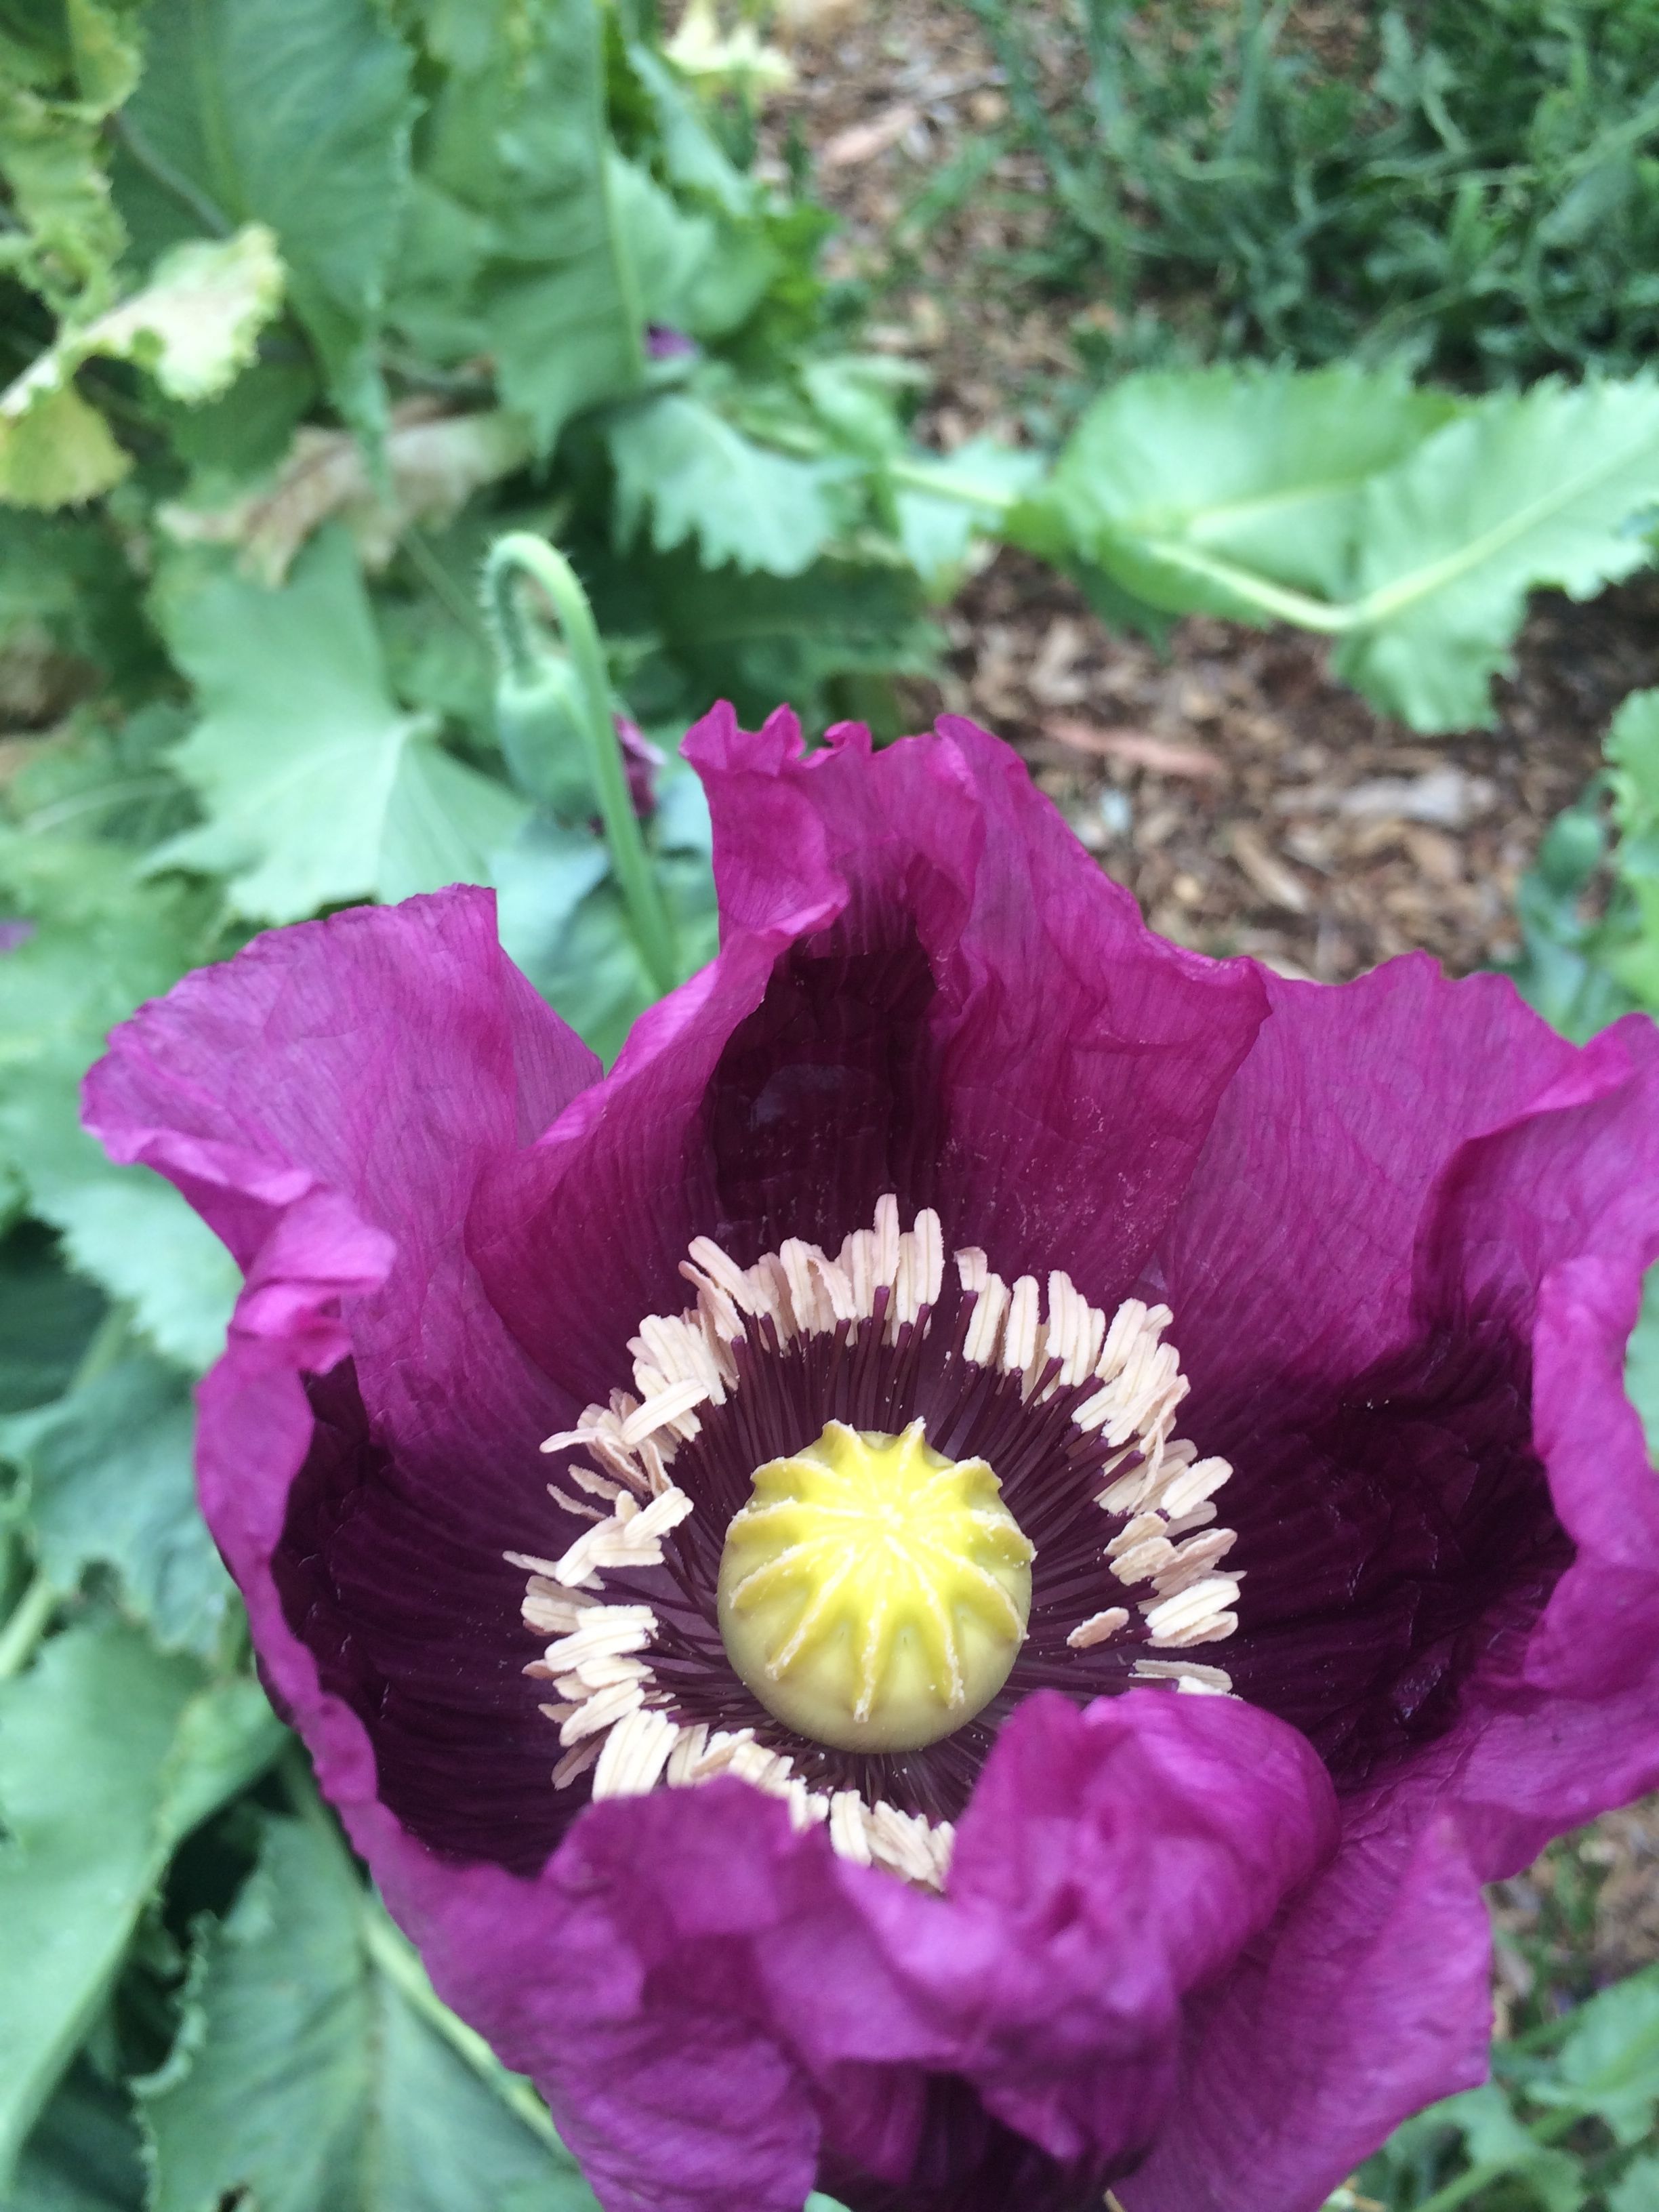
(Botanical Interests Lauren’s Grape)
I started my seedlings off in mid September. So right about now. Last year for ease I picked up Renee’s Garden & Botanical Interests seeds at the local hardware store. This year I decided that since I proved my worth last year, I would splurge on specialized seeds from Swallowtail Garden Seeds.
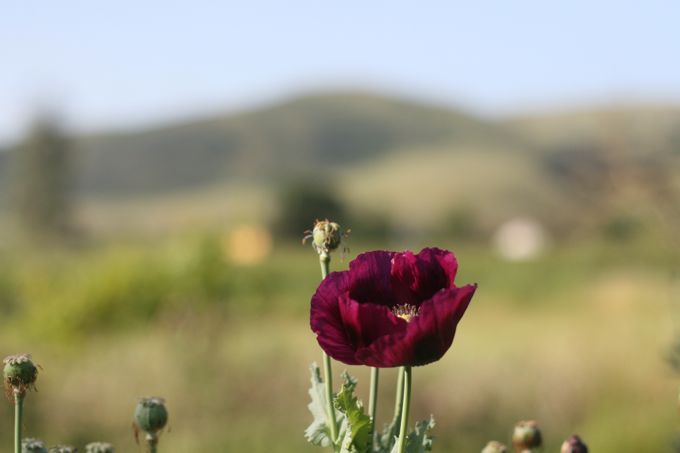
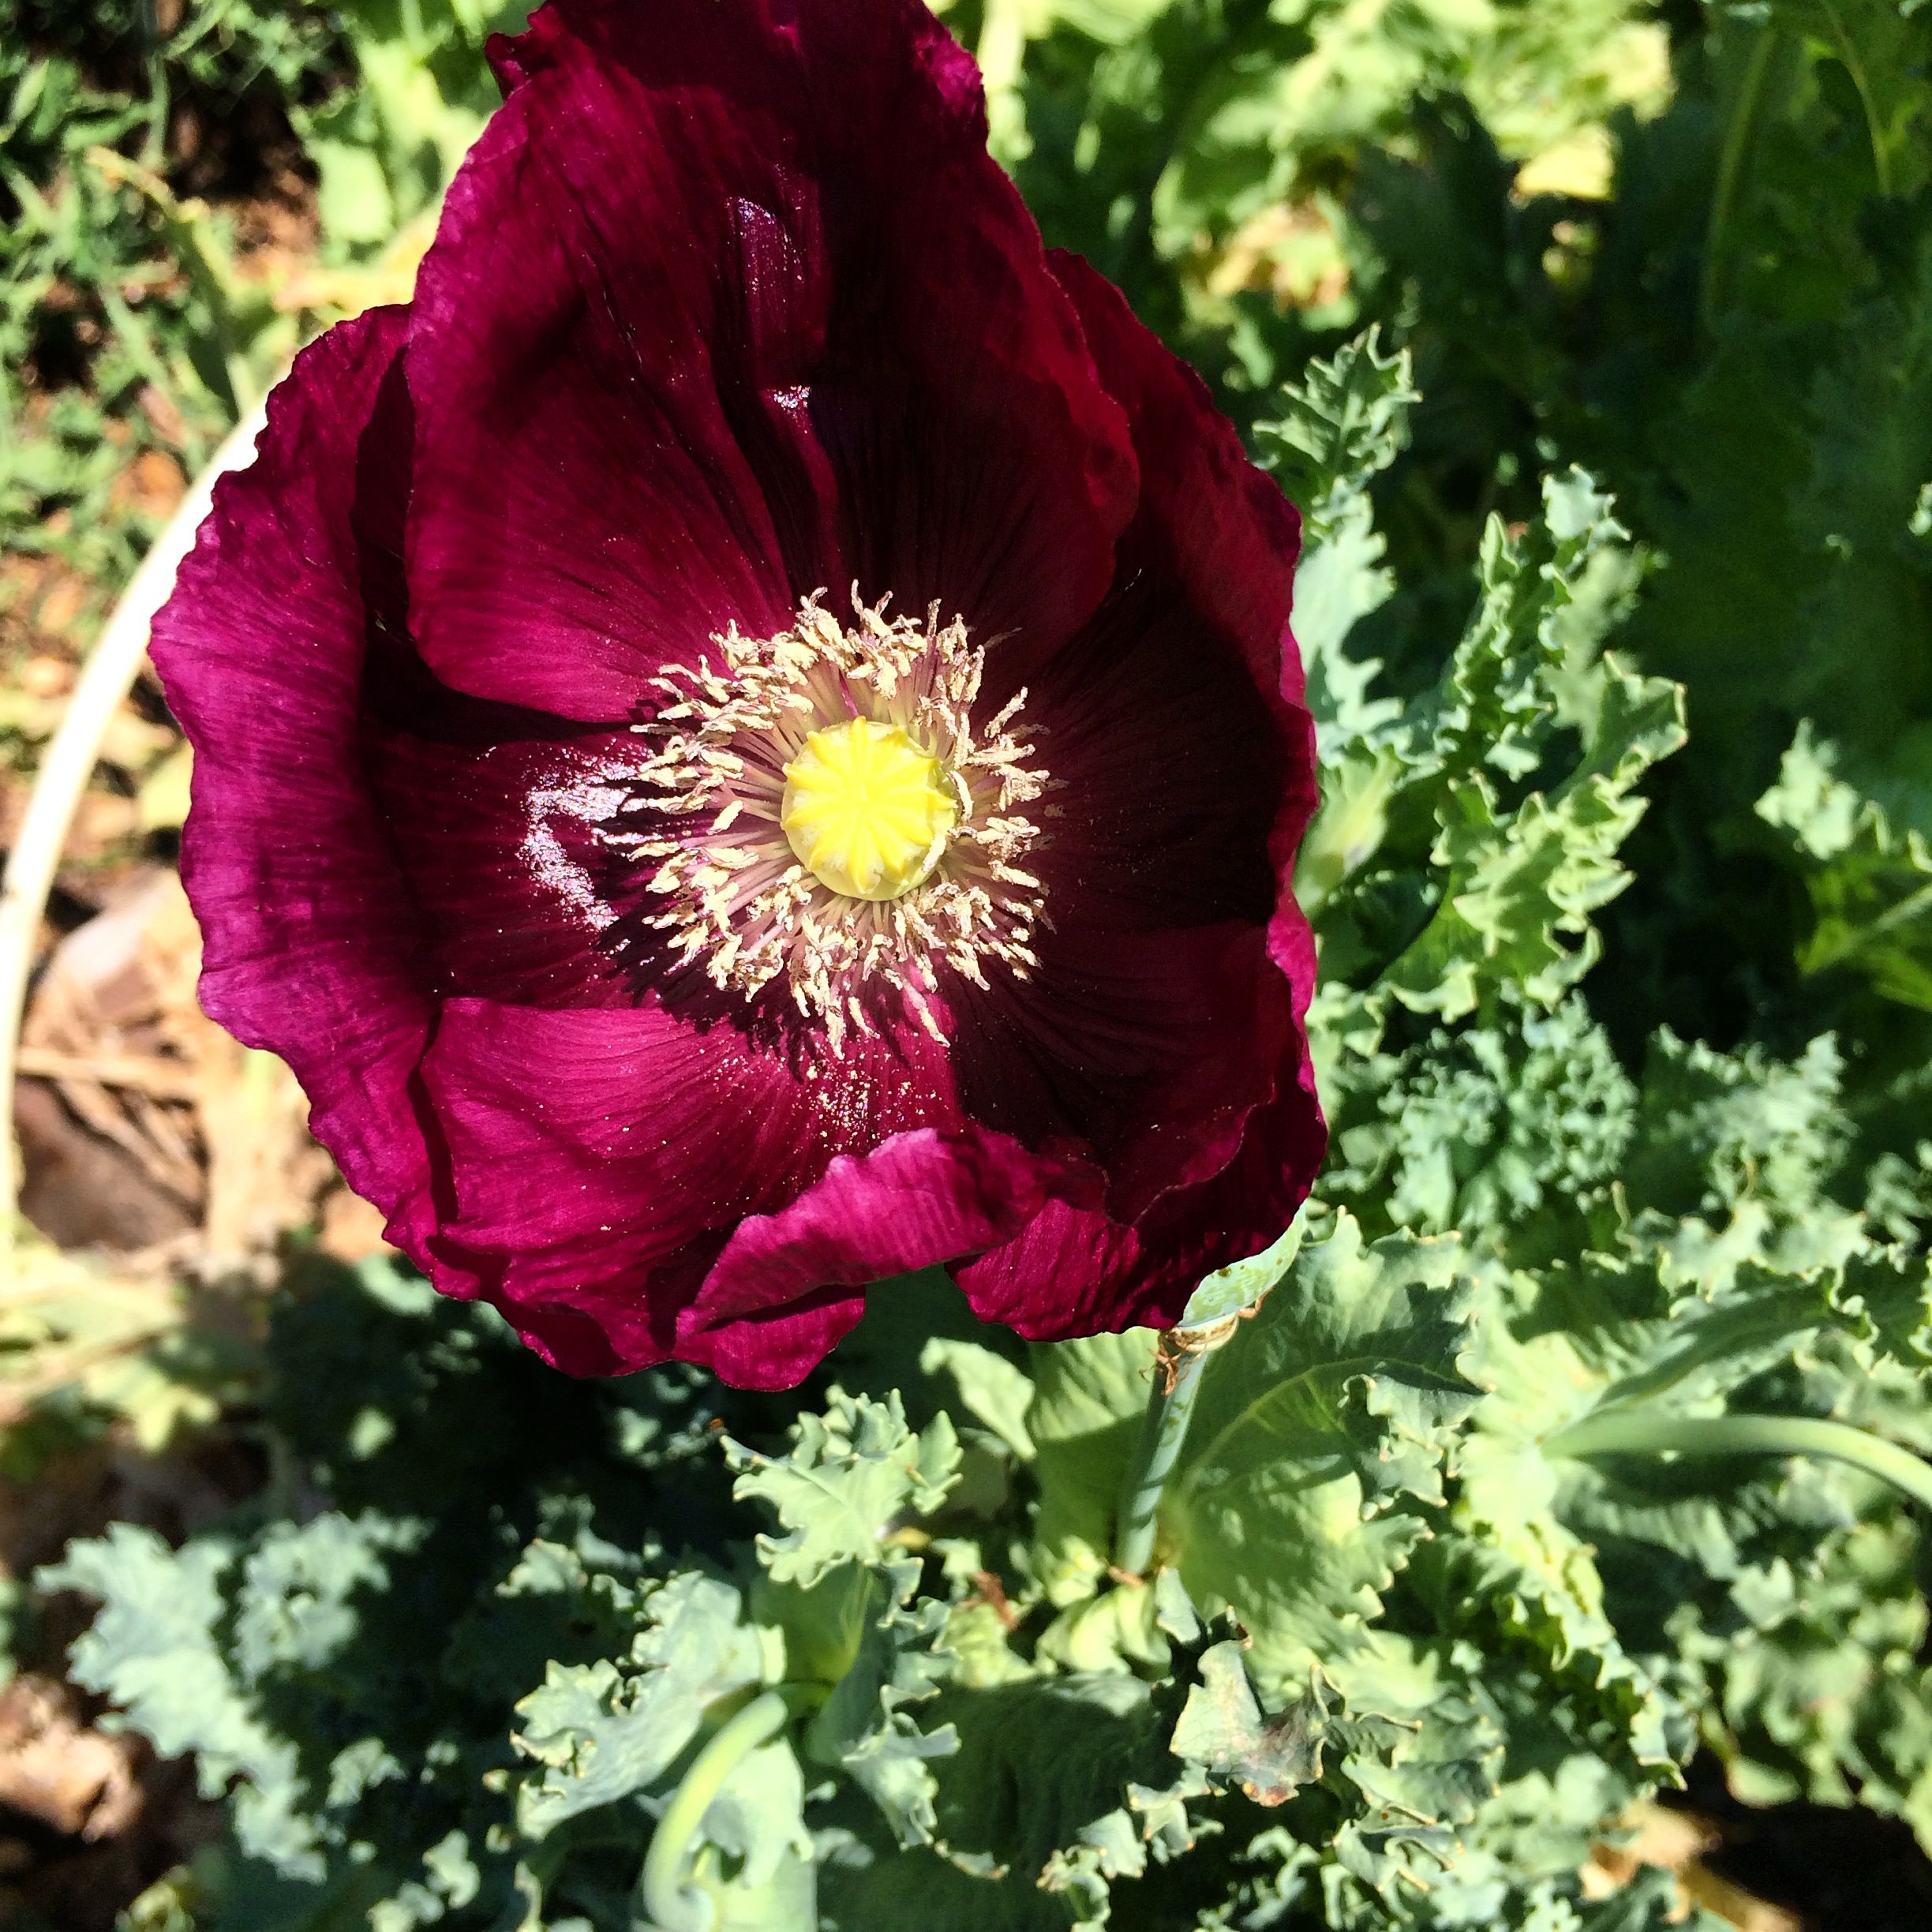
(Botanical Interests Hungarian Blue poppy – the most beautiful flower I’ve grown!)
Last year in Mid-September I planted:
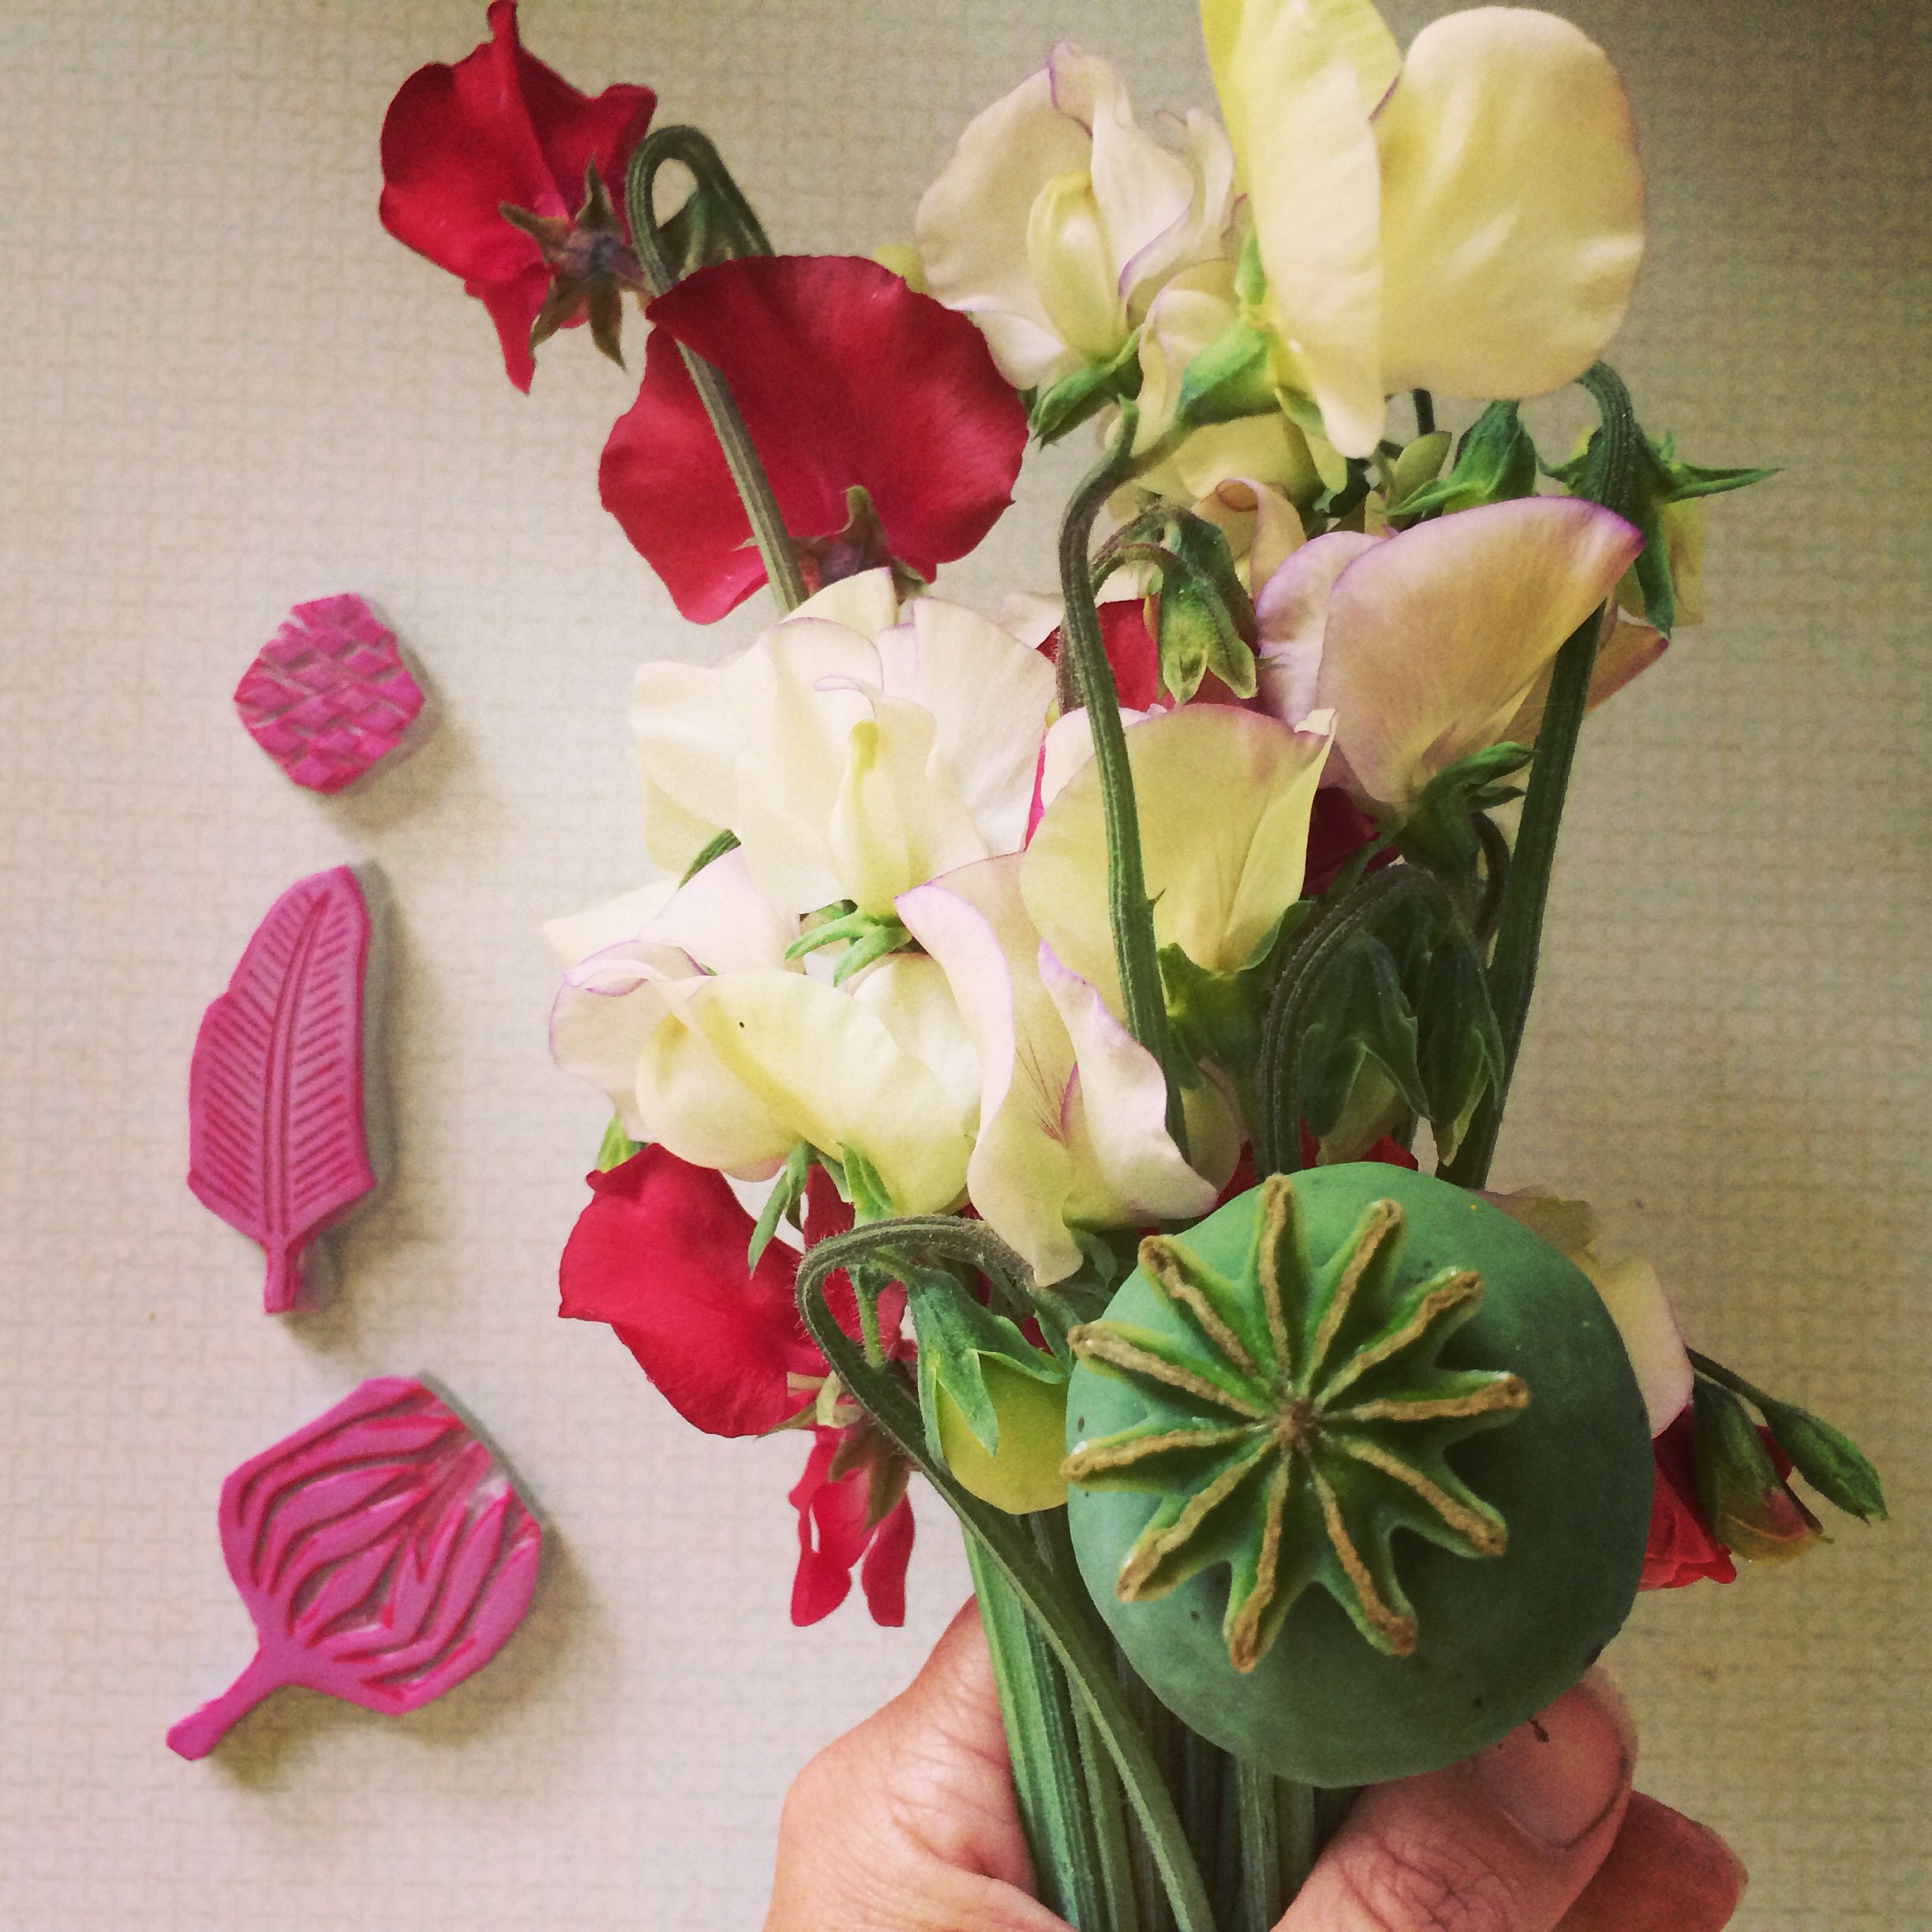
- Botanical Interests Snapdragon Tall Maximum Blend
- Botanical Interests Echinacea
- Botanical Interests Lauren’s Grape
- Botanical Interests Hungarian Blue poppy
This year I’ve planted seeds all from Swallowtail Garden Seeds:
- Madame Butterfly Snapdragon
- Twinny Appleblossom Snapdragon
- Mother of Pearl Shirley Poppy
- Meadow Pastels Iceland Poppy
- Danish Flag Breadseed Poppy
- left over Botanical Interests snapdragon seeds from last year
I plant my seeds in all sorts of left over 6-packs we save along with big plastic clam shell produce containers from Costco. I haven’t spent any money on fancy seedling trays, although I probably should at some point. If we happen to have seed starting soil mix, I’ll use that. Otherwise I just use potting soil. Whatever we have on hand. After I seed them, I label them. That’s a very important little step that I have often forgotten in the past, thinking I’ll certainly remember what I planted. I never do.
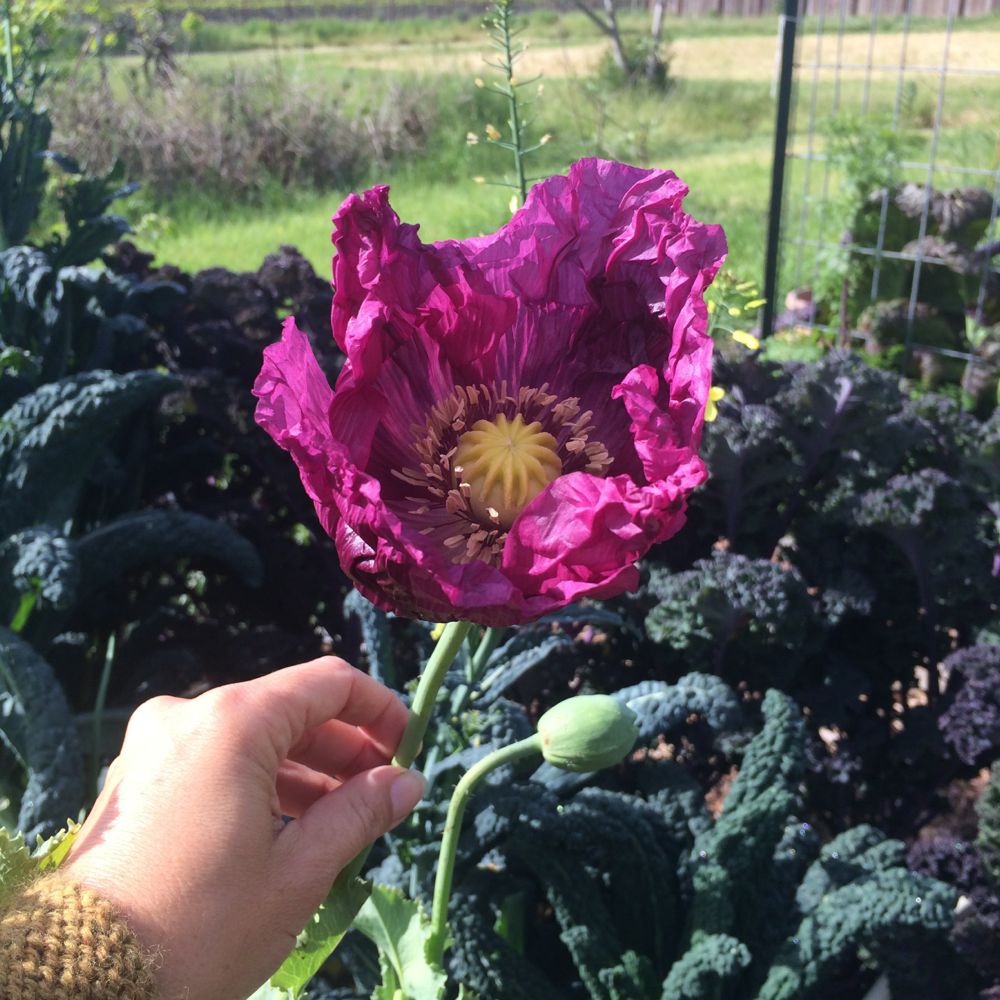
(Botanical Interests Lauren’s Grape)
Then I take our kitchen trays and cookie sheets and cover them in aluminum foil to protect them and place all the seedling containers on these. I put all of these on our washer and dryer which get great southern light and is close to a water source for easy washing. I also happen to walk past this spot multiple times a day so I can keep a steady eye on how things are looking. Now friends, learn from me and if you choose to place your seeds on your washer and dryer, please, please level your machines first. Two years ago I had an entire cookie sheets worth of sweet pea seeds vibrate themselves off the washer and all over the floor. A lot of bad words came out of my mouth that day and I don’t want that to have to happen to you too.
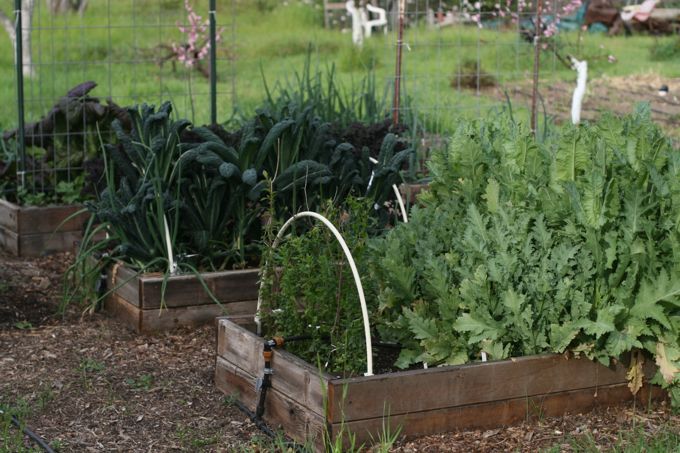
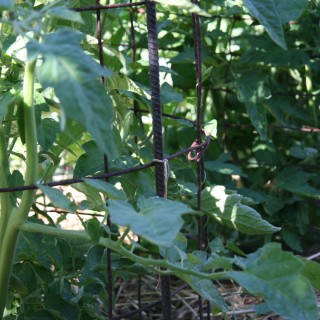
By early November all my seedlings had come up and I planted them out into raised beds. That’s about six weeks of growing inside in trays before I planted them out. Then I covered them all in agribond floating row cover. That, I believe, was a key step in seedling success. The agribond keeps pesky bugs and birds from eating the seedlings and keeps them a little bit warmer during the winter. Rain water permeates through the agribond. I kept the agribond on over the flower starts all winter. If there is one thing you are going to invest in, other than seeds, it’s that agribond.
By March I was snipping my first snapdragons to bring inside and by April 9th my first Hungarian Blue Poppy bloomed, which was so gorgeous!
If I did this, you can too. Go out to the hardware store or nursery and buy a few seed packets and get planting this weekend! I’ll keep checking in with you over the winter about our fledgling flowers. And in November we can discuss sweet peas. If you’d like a good list of zone 9 seeds you can start now, check out Floret’s article for more ideas.

p.s. Thank you for your patience while I was selling the Ultimate Healthy Bundles package the last few weeks. I don’t normally ‘sell’ things on this blog and it felt like a bit of a stretch for me. I’m not a natural sales person. But I really believed in the package and was so excited that my book was part of it. Thank you to those who did invest in it!