
(a longer tutorial found here)
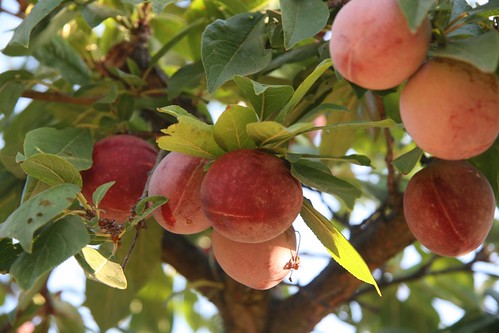
- Find a plum tree.
-
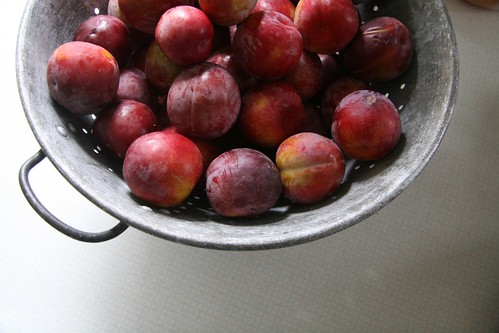
Pick and rinse 24 plums.

-
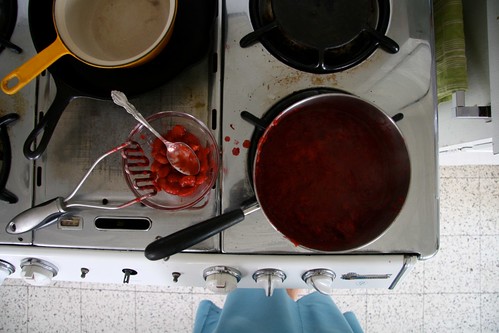
Put on a simmer with a couple tablespoons of water. Wait about 15 minutes.
-
Remove 24 seeds. Blend with a stick blender.

-
Add sugar to taste.
-
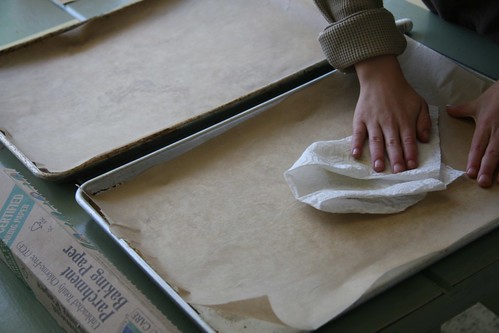
Lightly oil two parchment paper lined cookie sheets.

-
Spread or tip pan until covers parchment evenly.
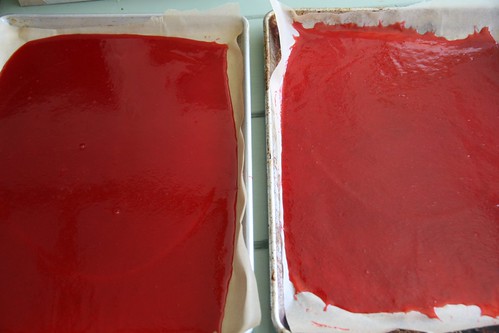
8. Fruit should be about 1/8″ thick. Very pretty.
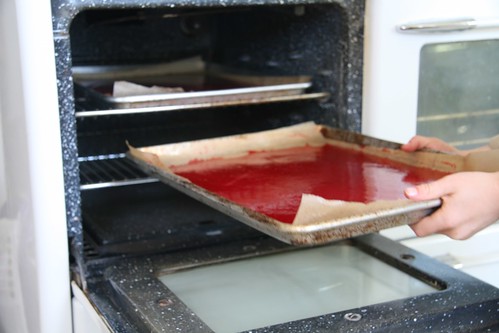
- Place into a warm oven for about 12 hours.

-
Take it out when it’s done.
-
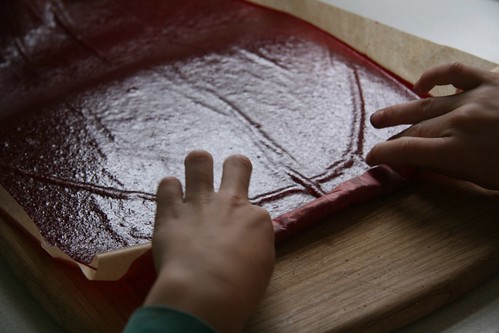
Roll up while still warm.
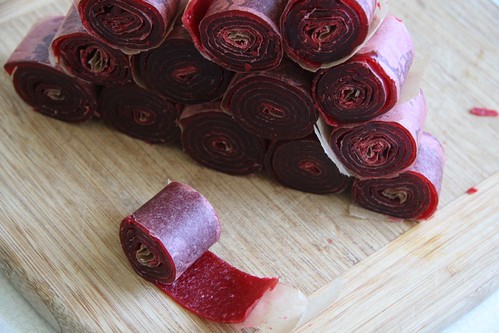
-
Cut when cool. Store in freezer in ziplocks, should last a year. Perfect for school lunches.
(if skins of fruit are bitter, it may behoove you to skin the fruit first, in which case, use 28 plums)
Enjoy! (again, more detailed fruit roll up directions here)


Looks great. I think I’ll pit my plums prior to cooking. I have a dandy pitter from a local hardware store.
what a wonderful tutorial. I had no idea it is so easy to make it!!!
Next year; I’ll try it next year. Although maybe a farmer’s market run. . . and it would be a great excuse for another quarter sheet pan!
Looks easy and yummy!
Could I use waxed paper rather than parchment, do you think? (it’s just what I have on hand…)
kjs (those are my initials too!) I think wax paper would work just fine!
Your recipe has made me the house hero! I made them last year to rave reviews. In fact, I have a batch of nectarine roll ups in the oven right now!
Do you leave your oven on low for 12 hours?
They look great. We made choke cherry roll ups last year. The kids loved them.
Little Homestead in the Valley
What a great idea! I know when our children were small they loved the store-bought ones. I wish I had this idea years ago. Now, I want some and I’m not even a fan of roll-ups. lol
My son loves fruit roll ups. I would love to try and make some myself, for him one day. Your pictures are beautiful. Thanks for sharing your recipe!
This is great! I look forward to making fruit leather today-love the pictures, absolutely beautiful
why would you put it in freezer. I’ve just put it in freezer bag and then into the snack drawer. My grandmother used to roll up the paper whole into tall canning jars and i would just rip off a large piece of paper off the roll and then rip off the leather bit by bit off the paper.